
By David Fortier
The first DN that I constructed was in 1988. My brother, Wayne, gave me the International DN Ice Yacht Racing Association (IDNIYRA) official plans and a gallon kit of WEST SYSTEM® Epoxy to get started. The official plans I believe were the Gougeon® “wedge” design. I was a soft water sailor, racing catamarans in the summer, but the winter of ‘87, we had discovered these FAST winter sailboats. I would say that it changed my life, this boat and the epoxy. I had used some epoxies previously, but this was my first large epoxy project using WEST SYSTEM Epoxy.
As I said the DN is a racing class. We explored to find ice to race on, and in doing so, stuff happens—pressure ridges, open water, etc. I broke my DN many times but was able to repair it good as new thanks to WEST SYSTEM Epoxy. As far as I know, it is still together, although I know not where.
Prototype Build
In 2004 it was time to build a new DN iceboat. I decided to build a prototype first, and if all went well, I would build more using the same mold. This type of build would require a two-sided mold—one side a strongback, one side a mold for the fuselage sides.
I built the mold from quality ½” plywood, and of course, WEST SYSTEM Epoxy. I covered the strongback/mold with 6 oz. fiberglass and epoxy. Once it had cured, I filled the weave with WEST SYSTEM Epoxy thickened with fairing filler. This gave me a smooth surface. I painted the epoxy with Awlgrip®, so when polished, the vacuum bagged parts would pop off easily. I followed this same process for both sides of the mold.
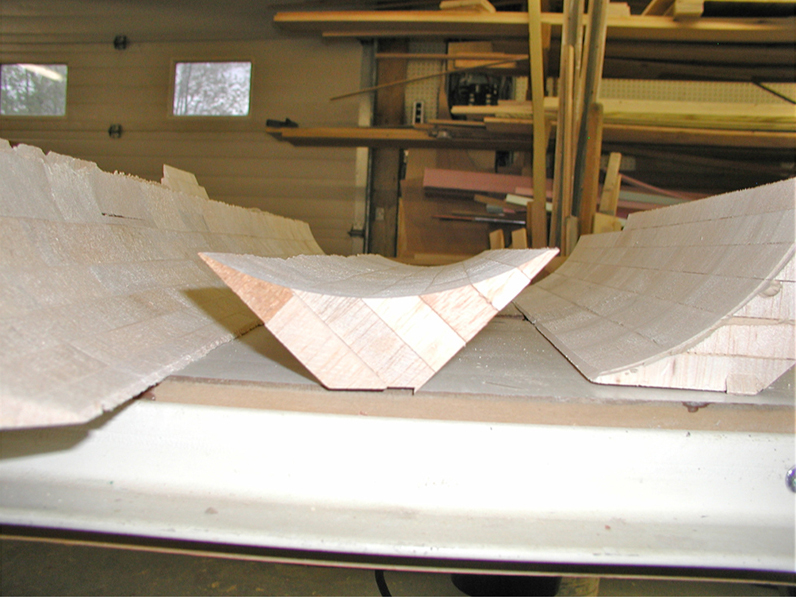
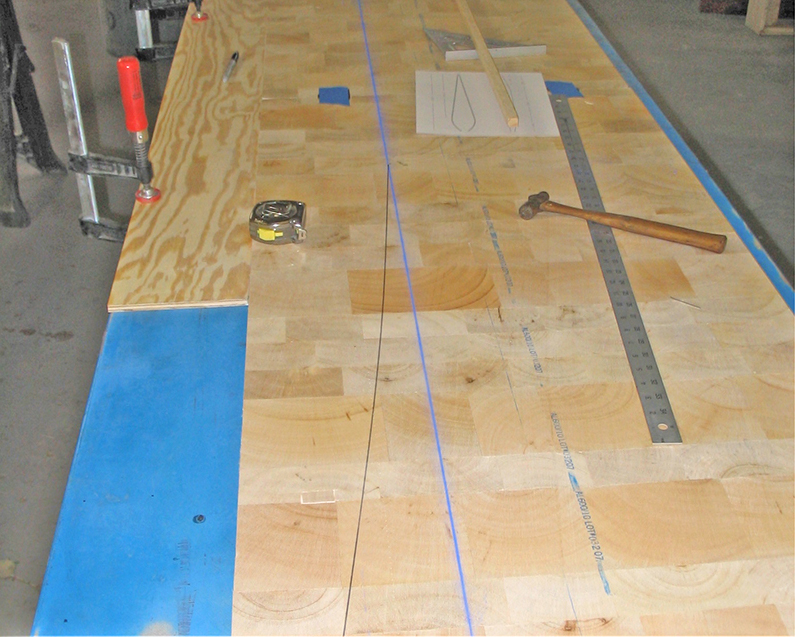
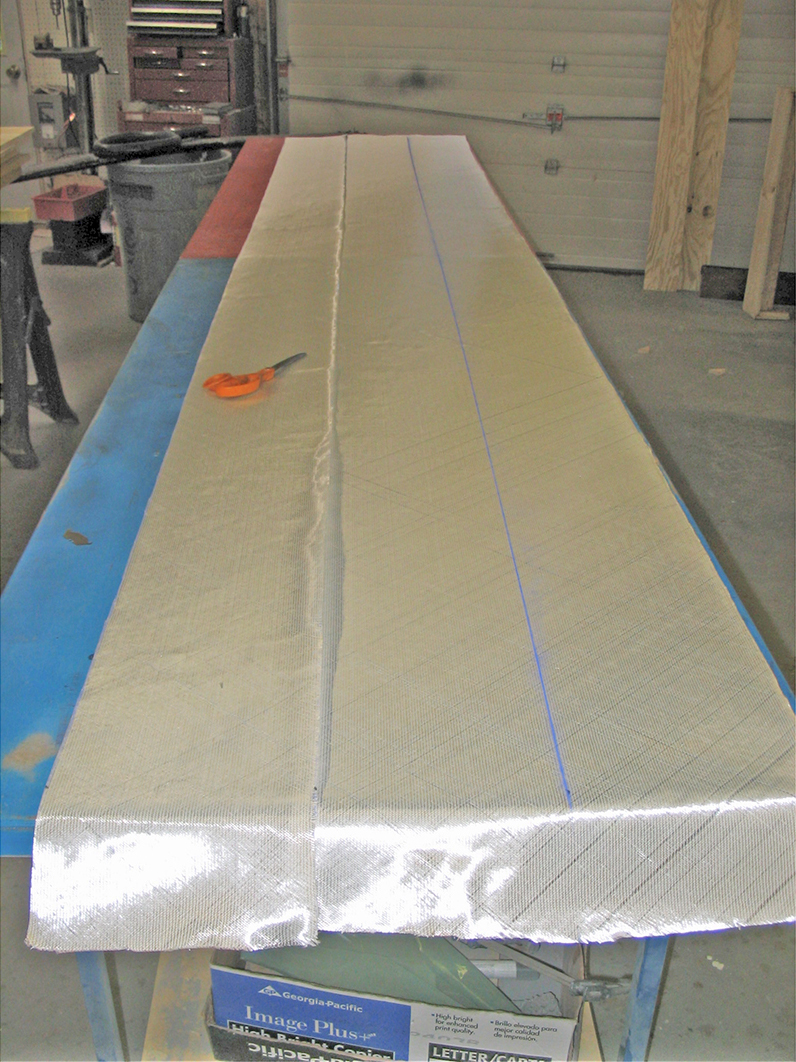
I was having difficulty finding good, clear spruce to use for the side panels. I decided to use 5/8″ end grain balsa with fiberglass for reinforcement. Now that I had my mold built, and my materials selected, I could begin the build process.
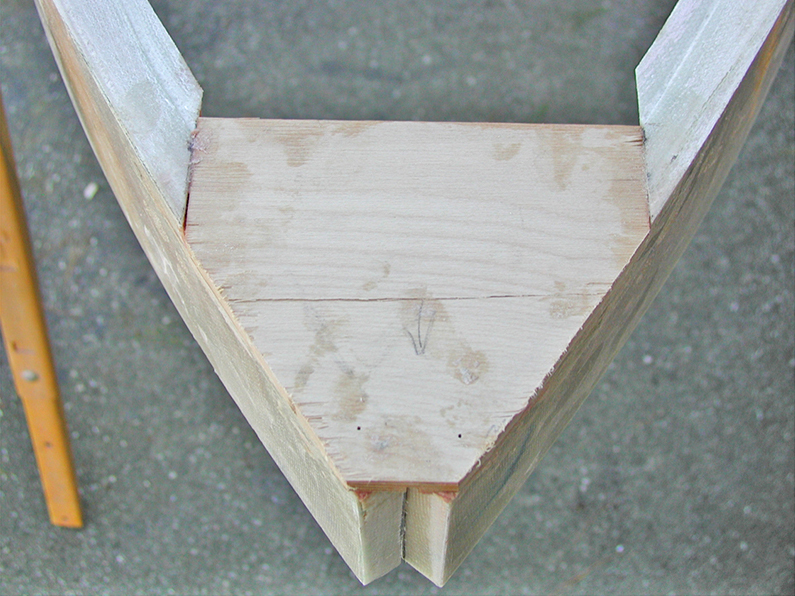
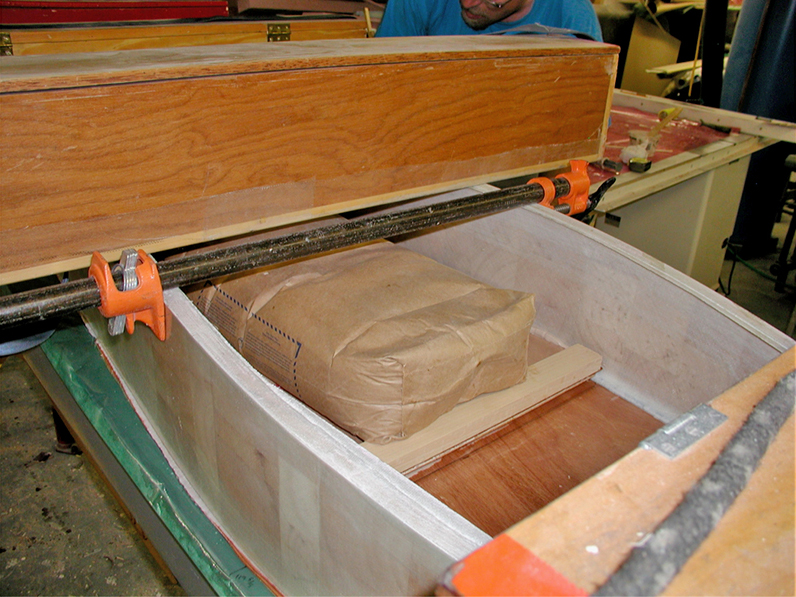
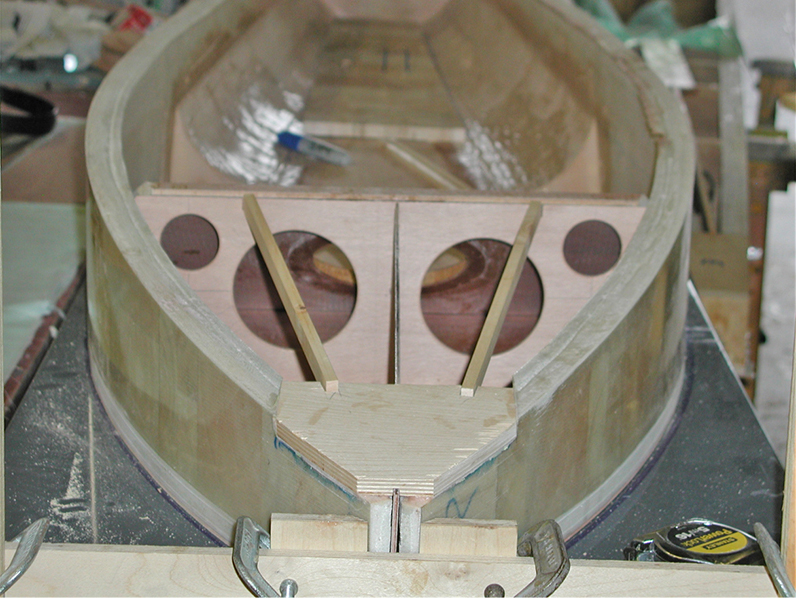
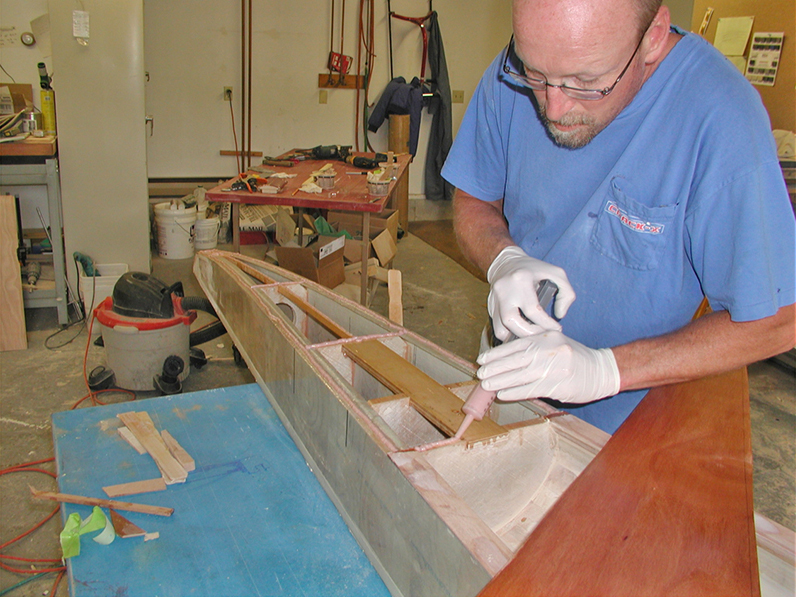
I tackled building the fuselage sides first. Having a two-dimensional mold to vacuum bag the end grain balsa to worked well. The 5/8″ balsa followed the contours well, and any grain that split filled with epoxy. Then I could flip the mold over and use the strong back to assemble the fuselage.
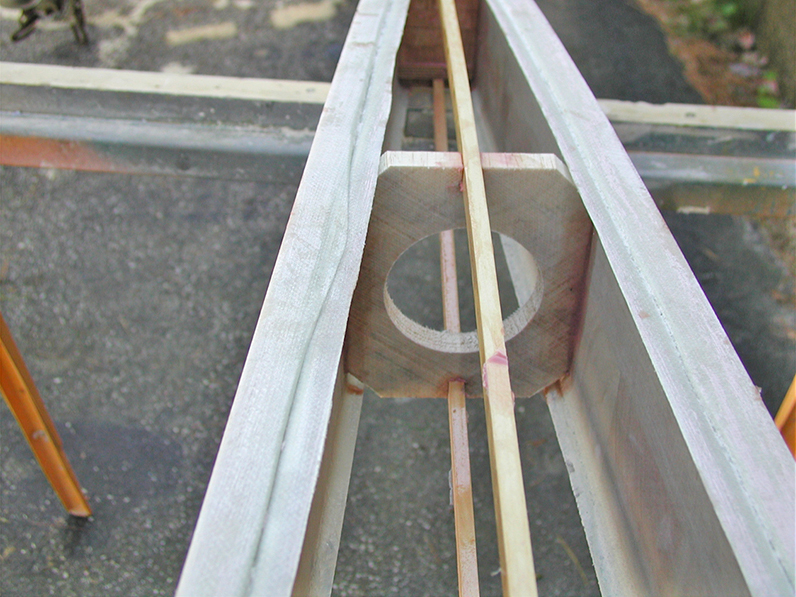
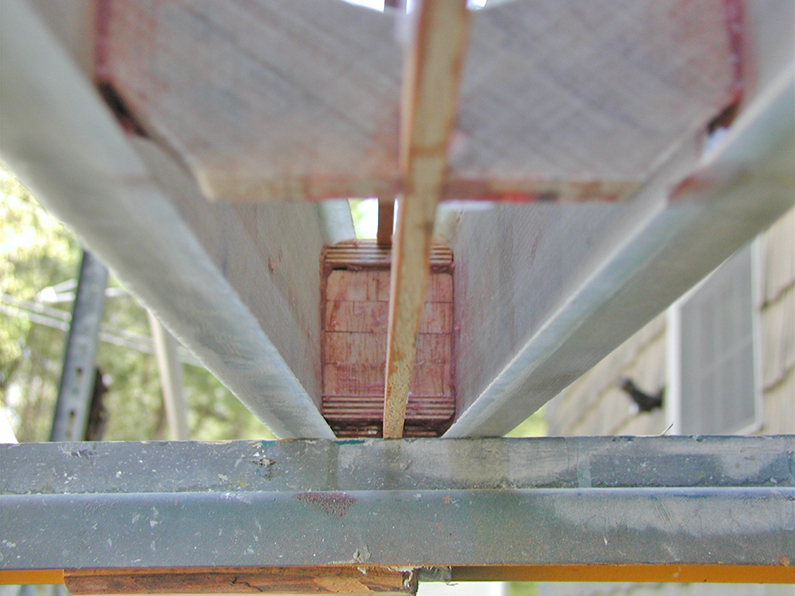
My prototype fuselage was sailed several times in substantial wind, and sometimes I even forgot to install the bobstay post. I believe, if the side panels would have been made of sitka spruce, they would not have survived this oversight. This reaffirmed the balsa wood with fiberglass reinforcement worked. This prototype fuselage is being used today as a wheel boat. After almost twenty years, it’s still going strong.
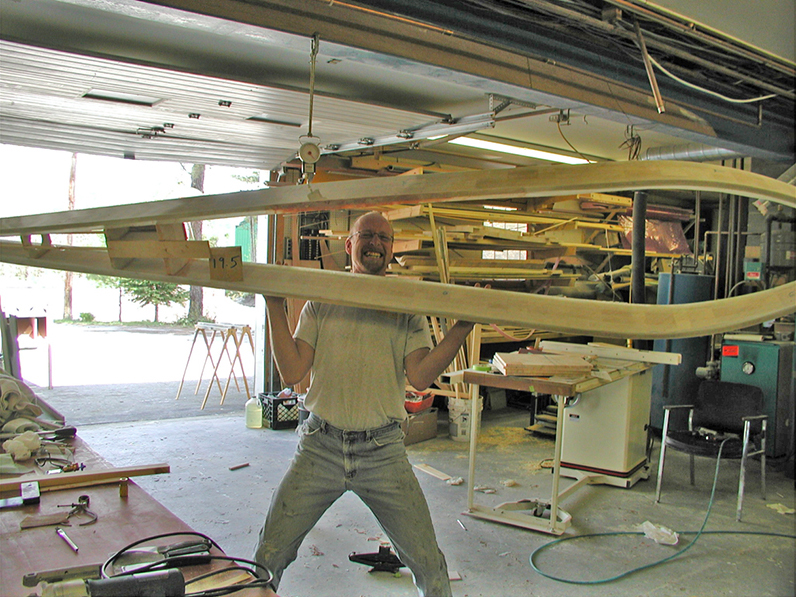
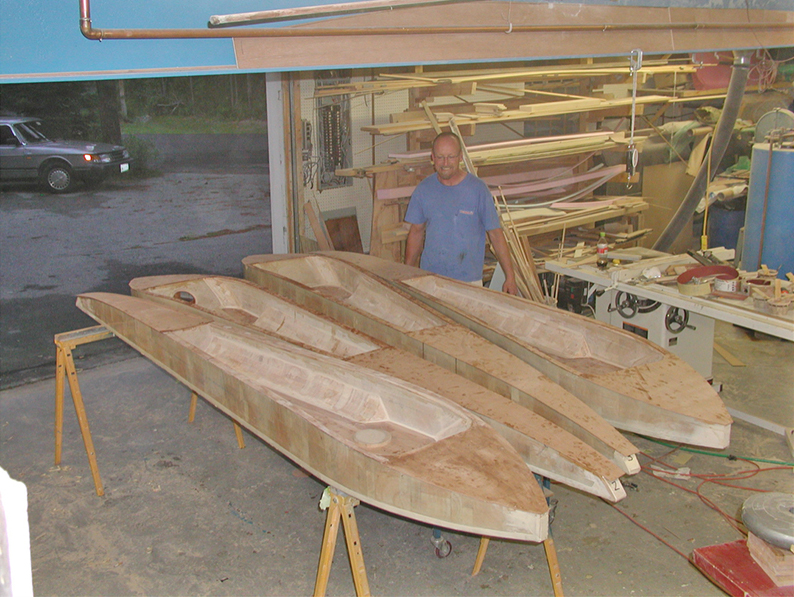
Production Hulls… x4
After two years of testing our 2004 prototype, it was time to begin production. My friend and I wanted to build four new boats. We were both avid competitors in the DN class, and wanted to compete here at home, and in Europe. The fuselage and mast are the most difficult parts to ship to Europe, so we both wanted to build two new fuselages each. This way we could keep one in Europe to avoid that hassle of shipping. Having determined that my construction method was sound, we were able to start on constructing our four semi-identical hulls.
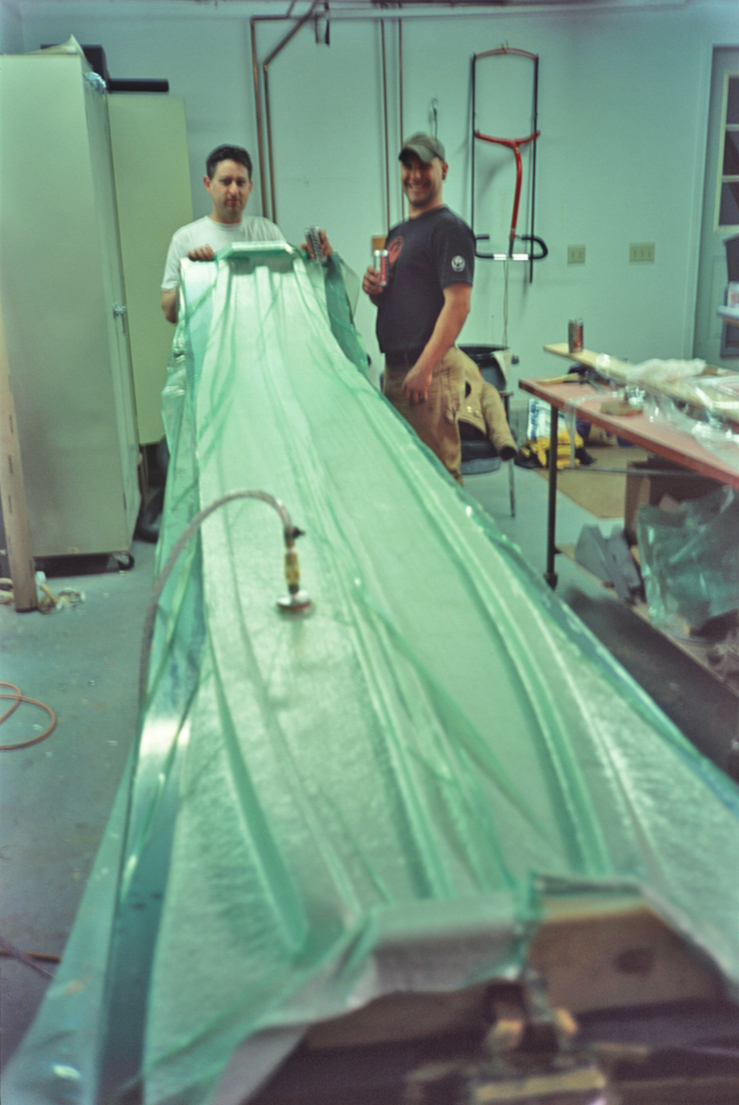
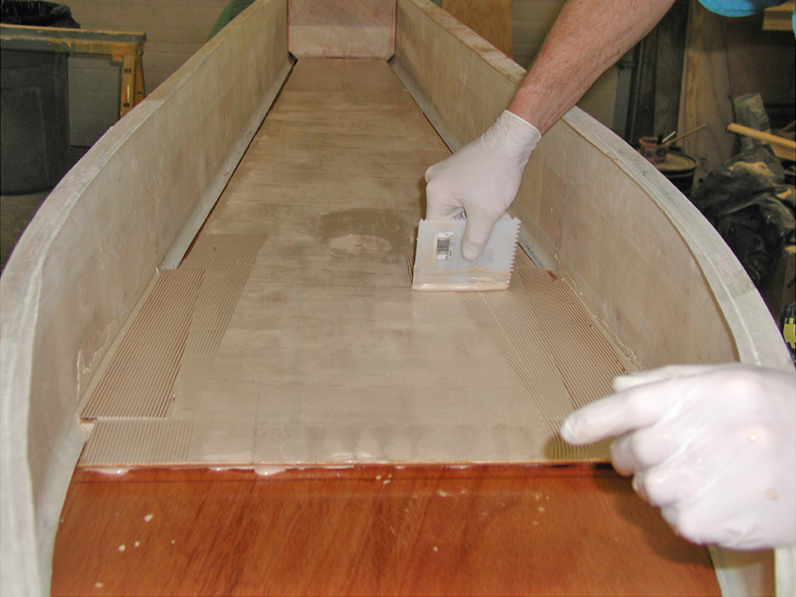
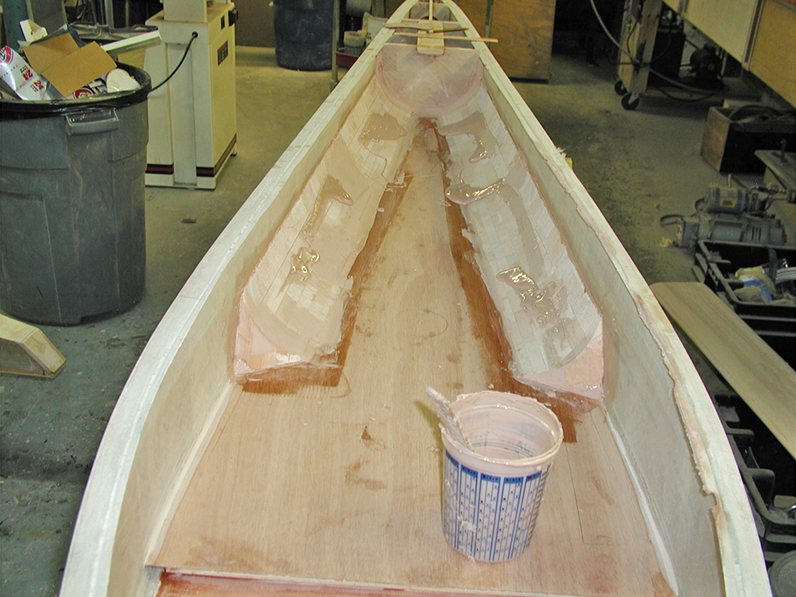
Because of the experience I had with the prototype, I was very comfortable with the strength of this method and the materials. Our goal was to build a fuselage that would be as close to the minimum weight as possible (46 lbs.). We were building four, so we fine-tuned the layup schedules before ordering the fiberglass to be used. Our exact layup schedules have been lost, but I know that we used a few inches wide of unidirectional s-glass on the top and bottom edges of the side panels, +/-45 biaxial fiberglass on both sides of the side panels, and 6 oz. fabric on the mold side for a uniform, smooth paintable surface.
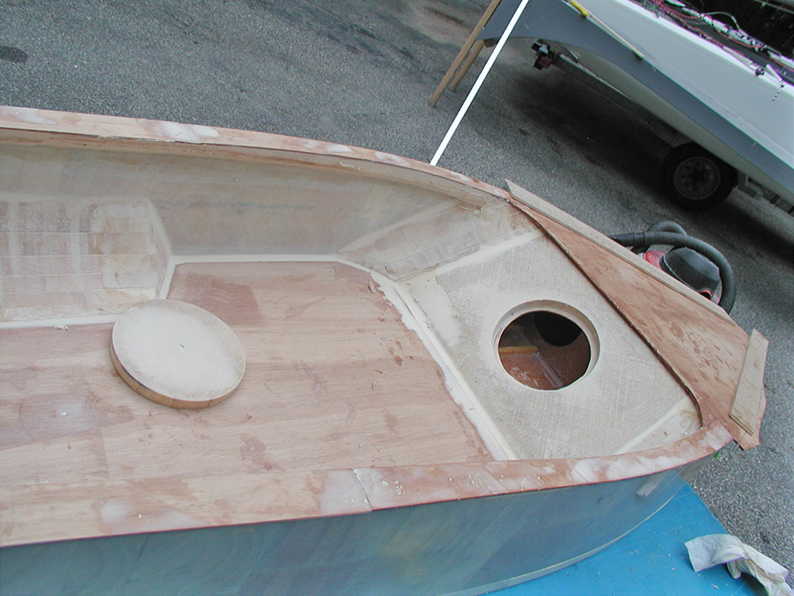
We adjusted the design layout of the fuselage/cockpit also. We retained the full length, height, and width of the cockpit for strength and racing reasons. Full height allows for a stiffer hull. The full length and width allow the skipper to remain in the cockpit for less windage.
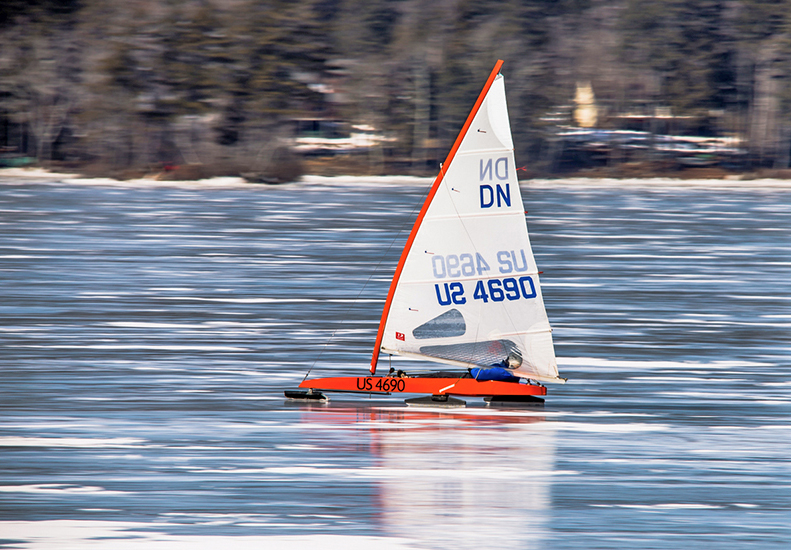
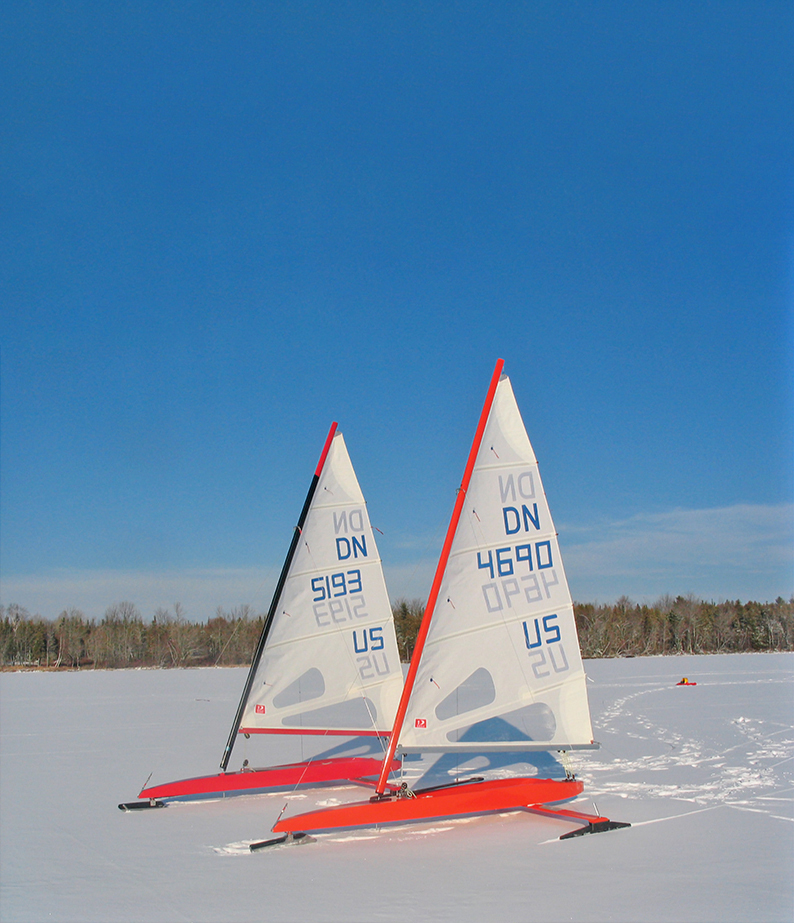
We’re still as happy with our iceboats today, as the day we made them.