
By Kevin Lennon
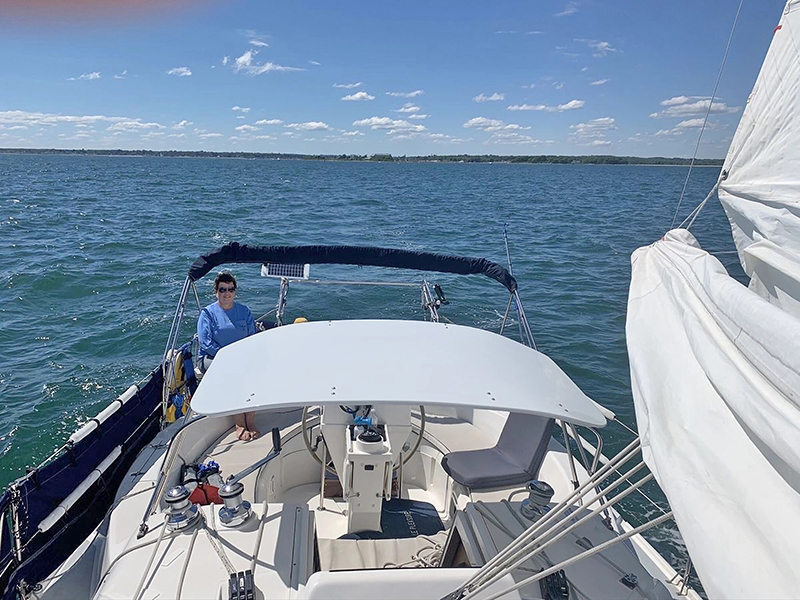
There are little customizations we do to our boats that set them apart from all the others out there like it. For my Hunter 336, it was replacing the original dodger with a hard top. The dodger was from 1996, and it had so many repairs that it was starting to look shabby. It was the perfect time to upgrade the dodger to a hardtop.
I had done some minor fiberglass work before, but nothing as extensive as this project. Since I was going to tackle this project indoors over the winter, WEST SYSTEM® Epoxy was the best choice for its superior quality, low odor, and ease of measuring. At one pump to one pump with the 300 Mini Pumps, even I can figure that ratio out.
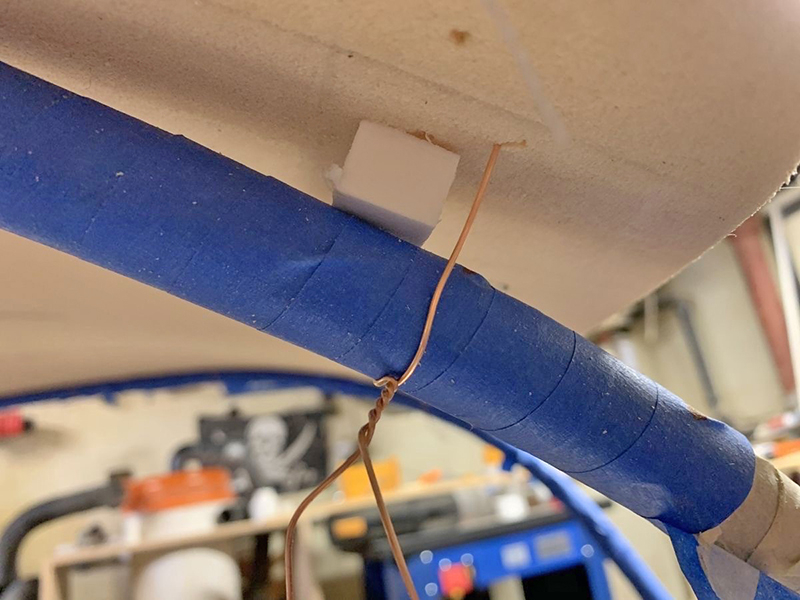
I started by bringing the bows from the dodger home and setting them up in my shop. Because I didn’t want the hard top permanently attached to the bows, I wrapped them with masking tape to protect them from the epoxy. Next I attached the foam board core to the bows with copper wire. This would hold the foam in the correct shape, so it contoured perfectly to the bows. Once both sides were laminated, the copper wire would be cut. With the foam board attached, I cut it to size, and shaped it with a sander. The foam cut easily.
Now it was time to apply the fiberglass. I took safety precautions at all steps of this build, but rubber gloves were a must when working with the epoxy. I also wore eye protection and a good dust mask.
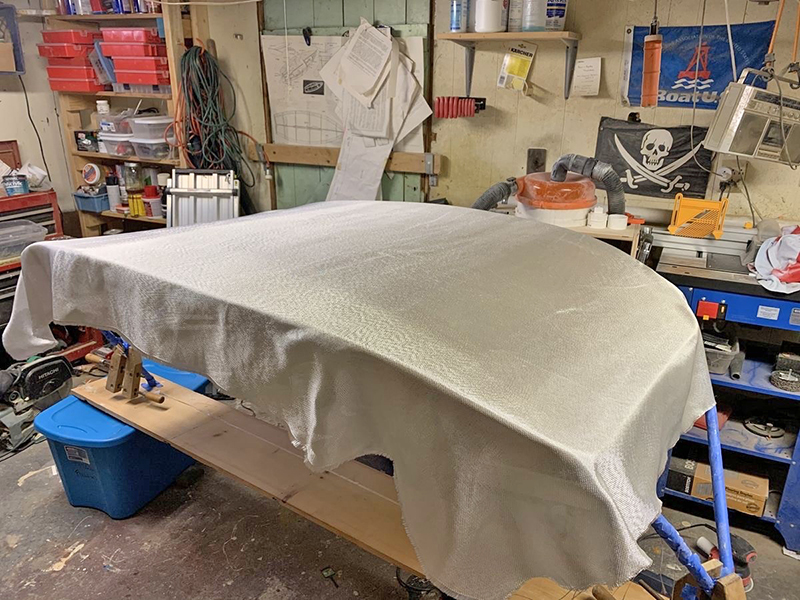
I applied two layers of 6 oz. fiberglass all the way around the edge of the foam core using WEST SYSTEM’s 105 Epoxy Resin® and 206 Slow Hardener®. The fiberglass extended about 4″ onto the top and bottom of the foam to ensure a good overlap. After the edges cured, I gave them a light sand and applied two layers of the same 6 oz. fiberglass to the top, and again allowed it to cure. Time to move on to the bottom side.
At this point, the bows still needed to remain attached to the foam to maintain its shape. I cut a wide strip of fiberglass to laminate all the way across the center bottom of the foam, between the two bows. Once this cured, the foam was stable enough to hold its shape, and the bows could be removed. The final two layers of fiberglass could then be applied over the whole bottom surface.
In retrospect, the only thing I would change up to this point in the process would be to apply three layers of fiberglass instead of two. The overall cost is not that much more and it would give some added strength for a safety factor.
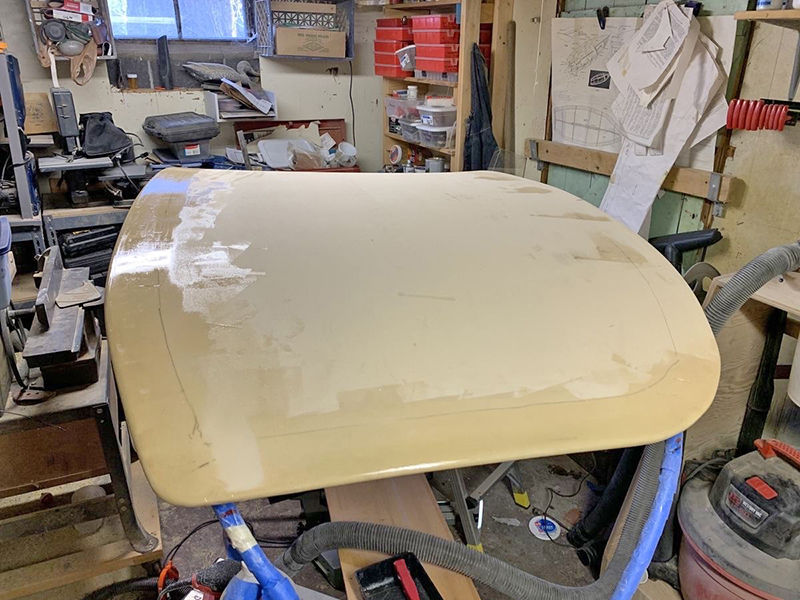
With the fiberglassing complete, it was time to do some sanding. I sanded the hard top to remove all the high spots and start smoothing out the finish. Once the surface was reasonably smooth, it was time to use the WEST SYSTEM 410 Microlight® Fairing Filler. This filler, when mixed with the epoxy, filled in the low spots, giving me a more fair surface. I was getting closer to that finished look, but it took a few rounds of filling and sanding before I was happy.
Because the epoxy is not UV stable, my thought was to do a two-part epoxy paint for the final coat. However, a friend who owns an auto body shop told me I could have any color I wanted, so long as it’s white. That made my decision easy. White it is!
The critique from my friend was that there were some pinholes still left in the surface. A normal person would not see them, but my friend is kind of a perfectionist. Those darn auto body guys. I did one more coat of filler to solve the problem so he could spray away.
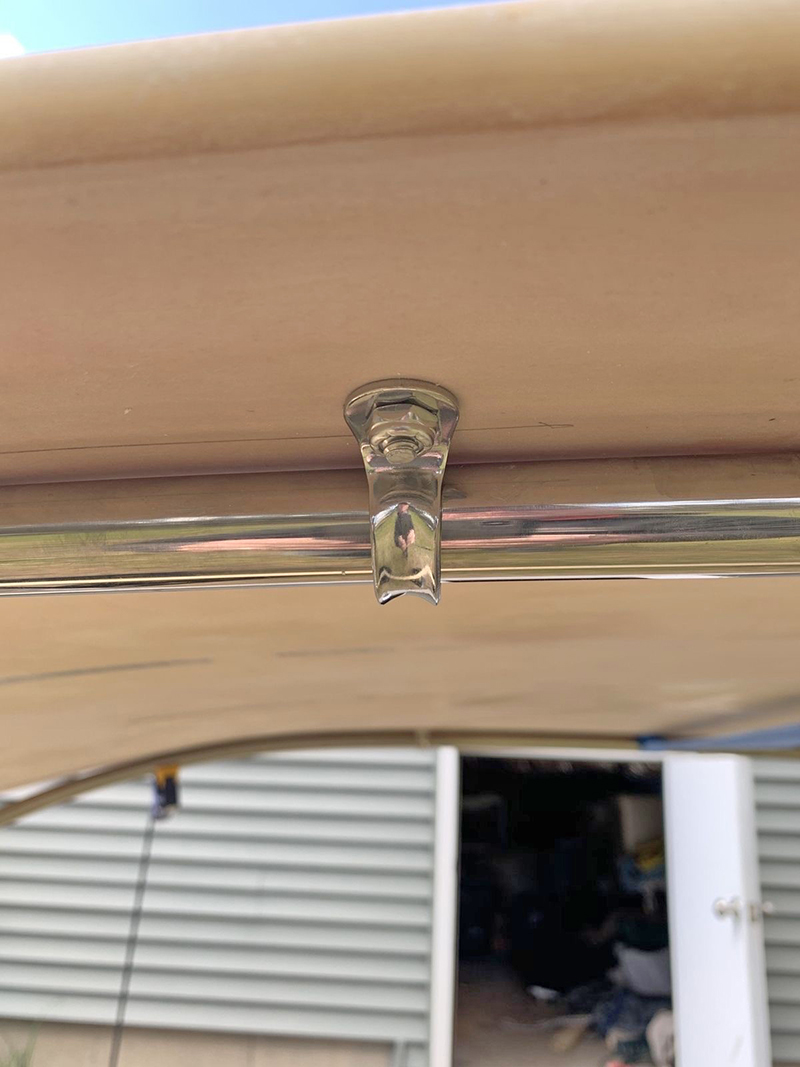
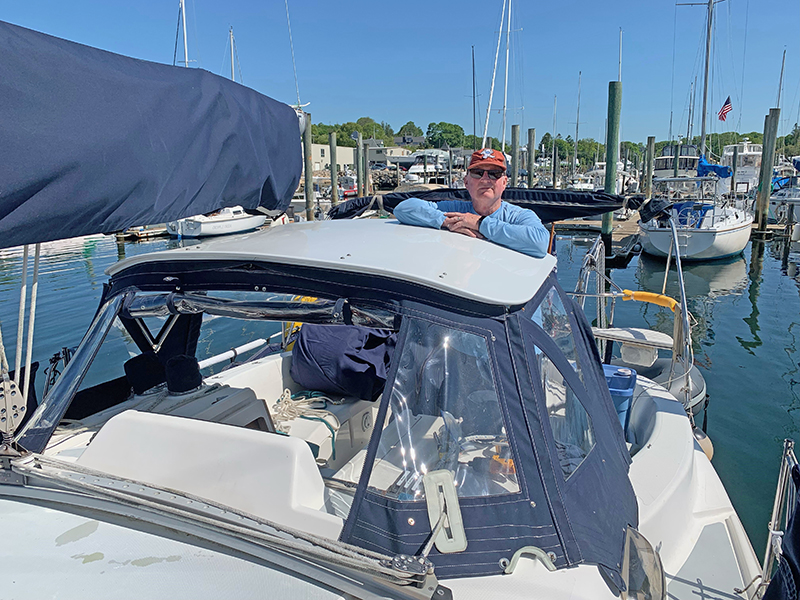
Now that it was done, we needed a way to attach the hard top to the bows. I used stainless pad eyes with stainless steel bolts, through-bolted. I used a rubber washer on the top side. I’m sure there are other options I could have used to mount it, but this seemed to work for me.
The last piece of the puzzle—building the new canvas for the hard top. I have been playing around with canvas work for a numbers of years, so I kind of knew what I was doing. Even still, I found the canvas work to be more difficult than the hard top itself.
Now, my H336 has a beautiful hard top, and I’ve gained a few skills along the way. As someone with little fiberglassing experience, who wanted to tackle a large project such as this, what did I learn?
- Gather as much information as you can. Pinterest, Google Images, etc. it all helps.
- Though intimidating at the outset, somebody with basic woodworking skills could do this type of project.
- WEST SYSTEM products make it easy!