RV Wall Replacement
Spring 2023

GET STARTED
FREE PRINT & DIGITAL EDITIONS
Spring 2023
By Matthew Logering
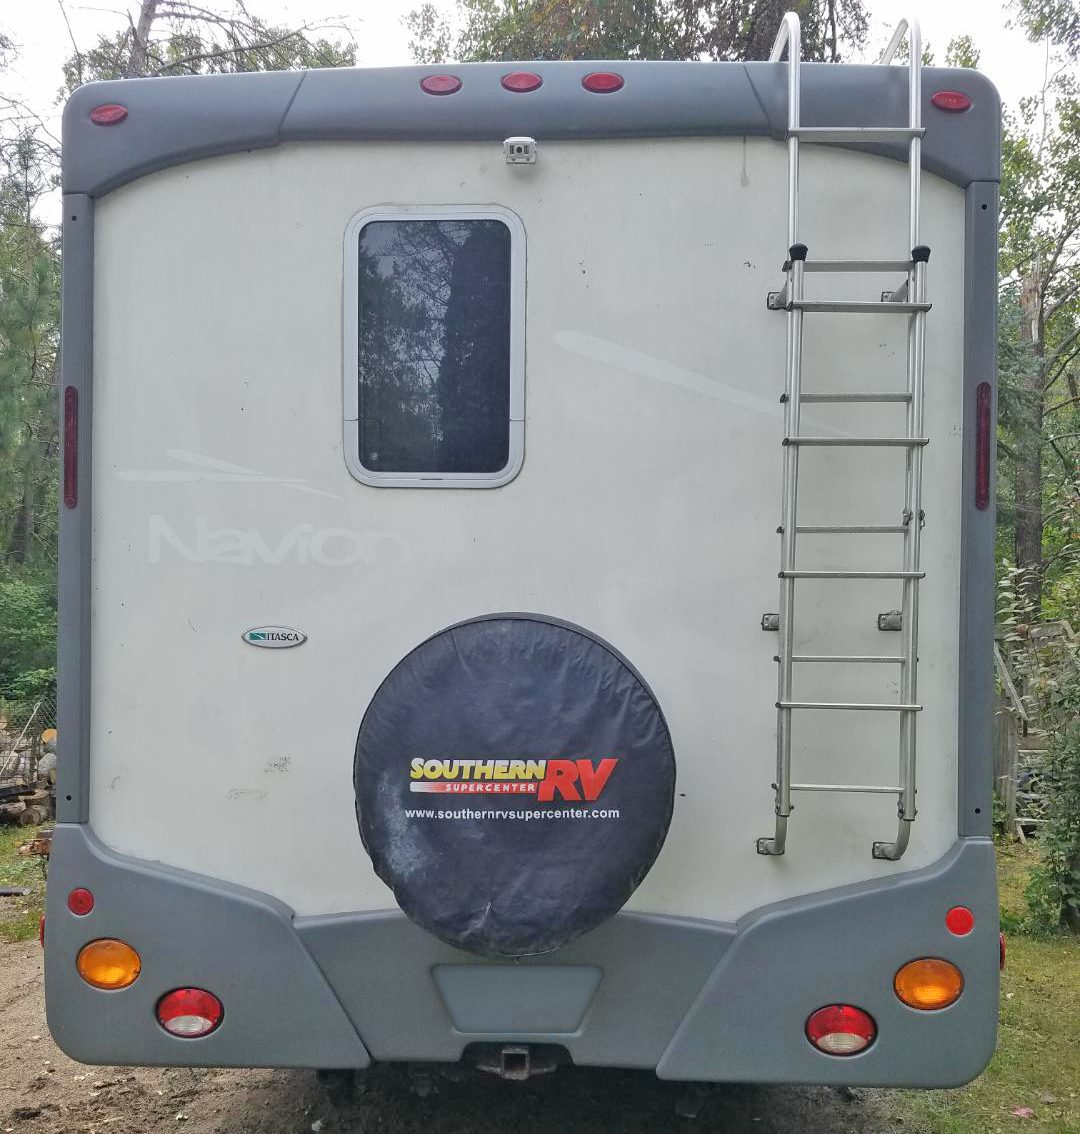
When we purchased our 2006 Winnebago® RV, we knew we would need to complete some repairs. We never imagined the back wall would need to be removed and rebuilt from the ground up. One of the edges of the back wall was compromised which allowed water to penetrate the wall and eventually saturate a majority of the plywood within. After determining that the damage was too great to spot treat/repair, we began the process of removing the wall.
After studying the engineering diagram from Winnebago, we learned that the wall was a sandwich construction. The wall had a fiberglass exterior, plywood and polystyrene foam core, and a wallpapered lauan plywood on the interior. If we were going to go through the work to rebuild the wall we wanted to insure it was built to last.
This is where the three A’s of most projects came into play: Analysis, Acquire, and Action.
We have come to enjoy the analysis phase the most. For this project it involved researching the construction of the back wall and the extent of the damage. It also involved learning more about the products and techniques available to complete the repair. We have found that a combination of community groups and manufacturers are the best place to seek out the information necessary to do a project well. For this project, we leveraged an RV community on Facebook specific to our model of RV and also WEST SYSTEM® for their technical expertise on how to properly seal and adhere plywood to fiberglass.
With our research complete, it was time to acquire the necessary tools and supplies to complete our project. This is often the least desirable step in the project as it involves a lot of research and time. Despite the work, this is where we realized the value of the analysis step, as we had a good handle on what was needed. For this project, we acquired WEST SYSTEM 105 Epoxy Resin®, 206 Slow Hardener®, 406 Colloidal Silica Filler, ¾” plywood, remnant wallpapered lauan from a local RV repair shop, disposable paint brushes and cups.
With a plan in place, and the equipment and supplies at hand, we put our work into action.
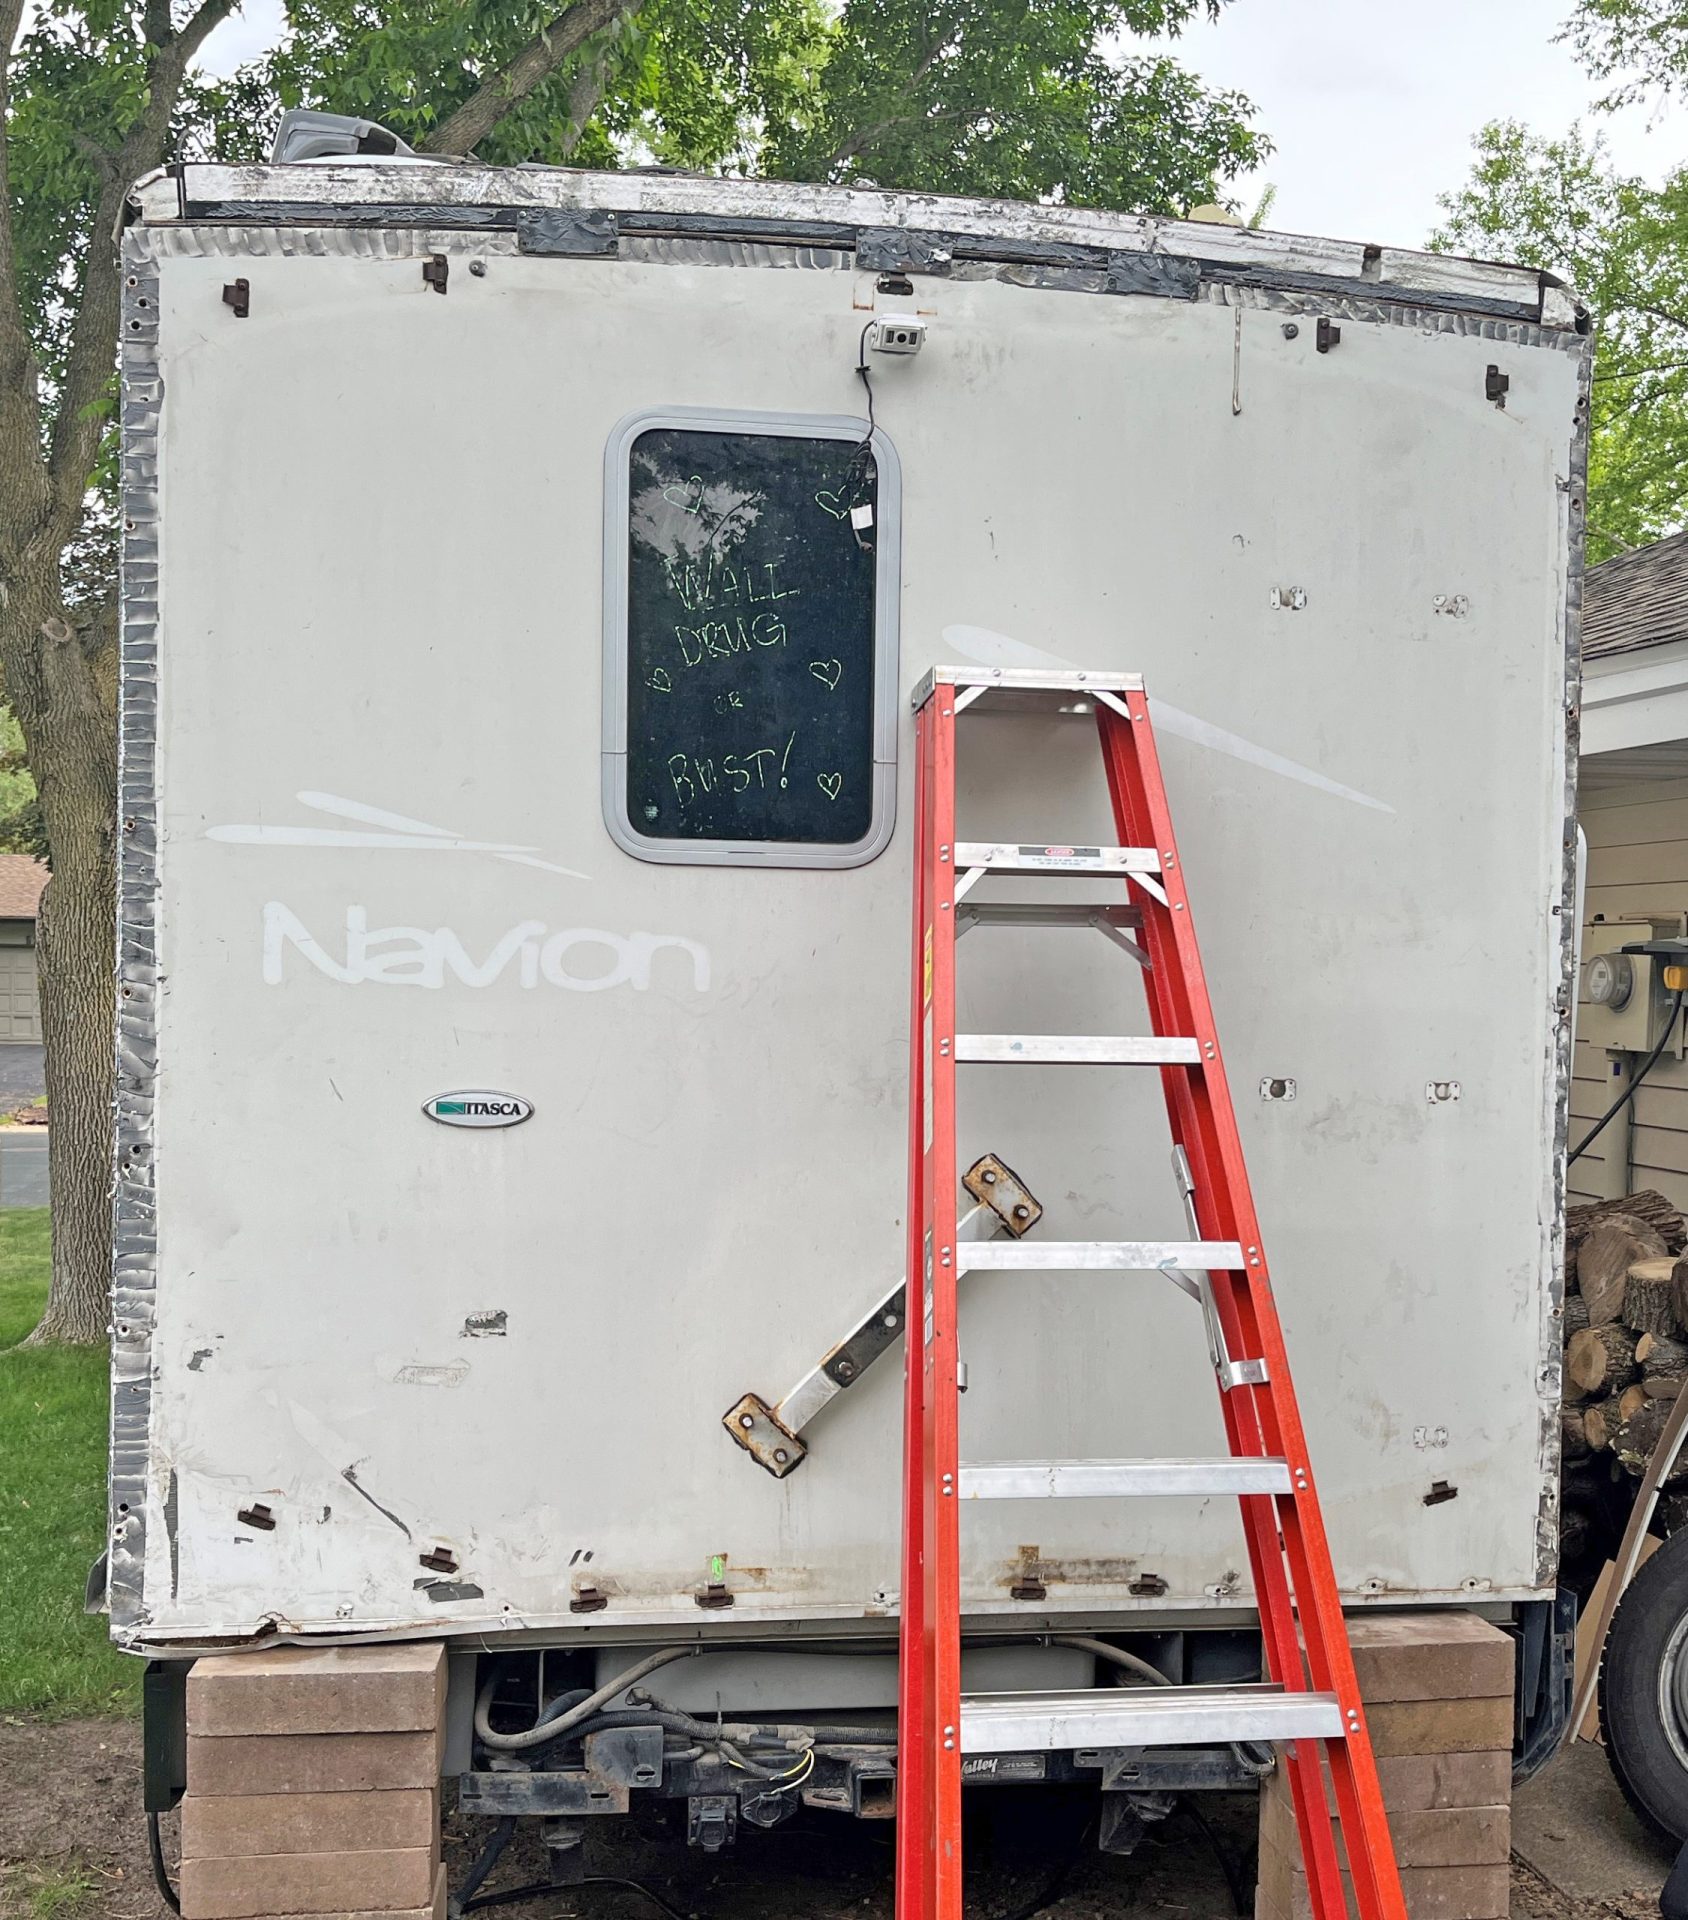
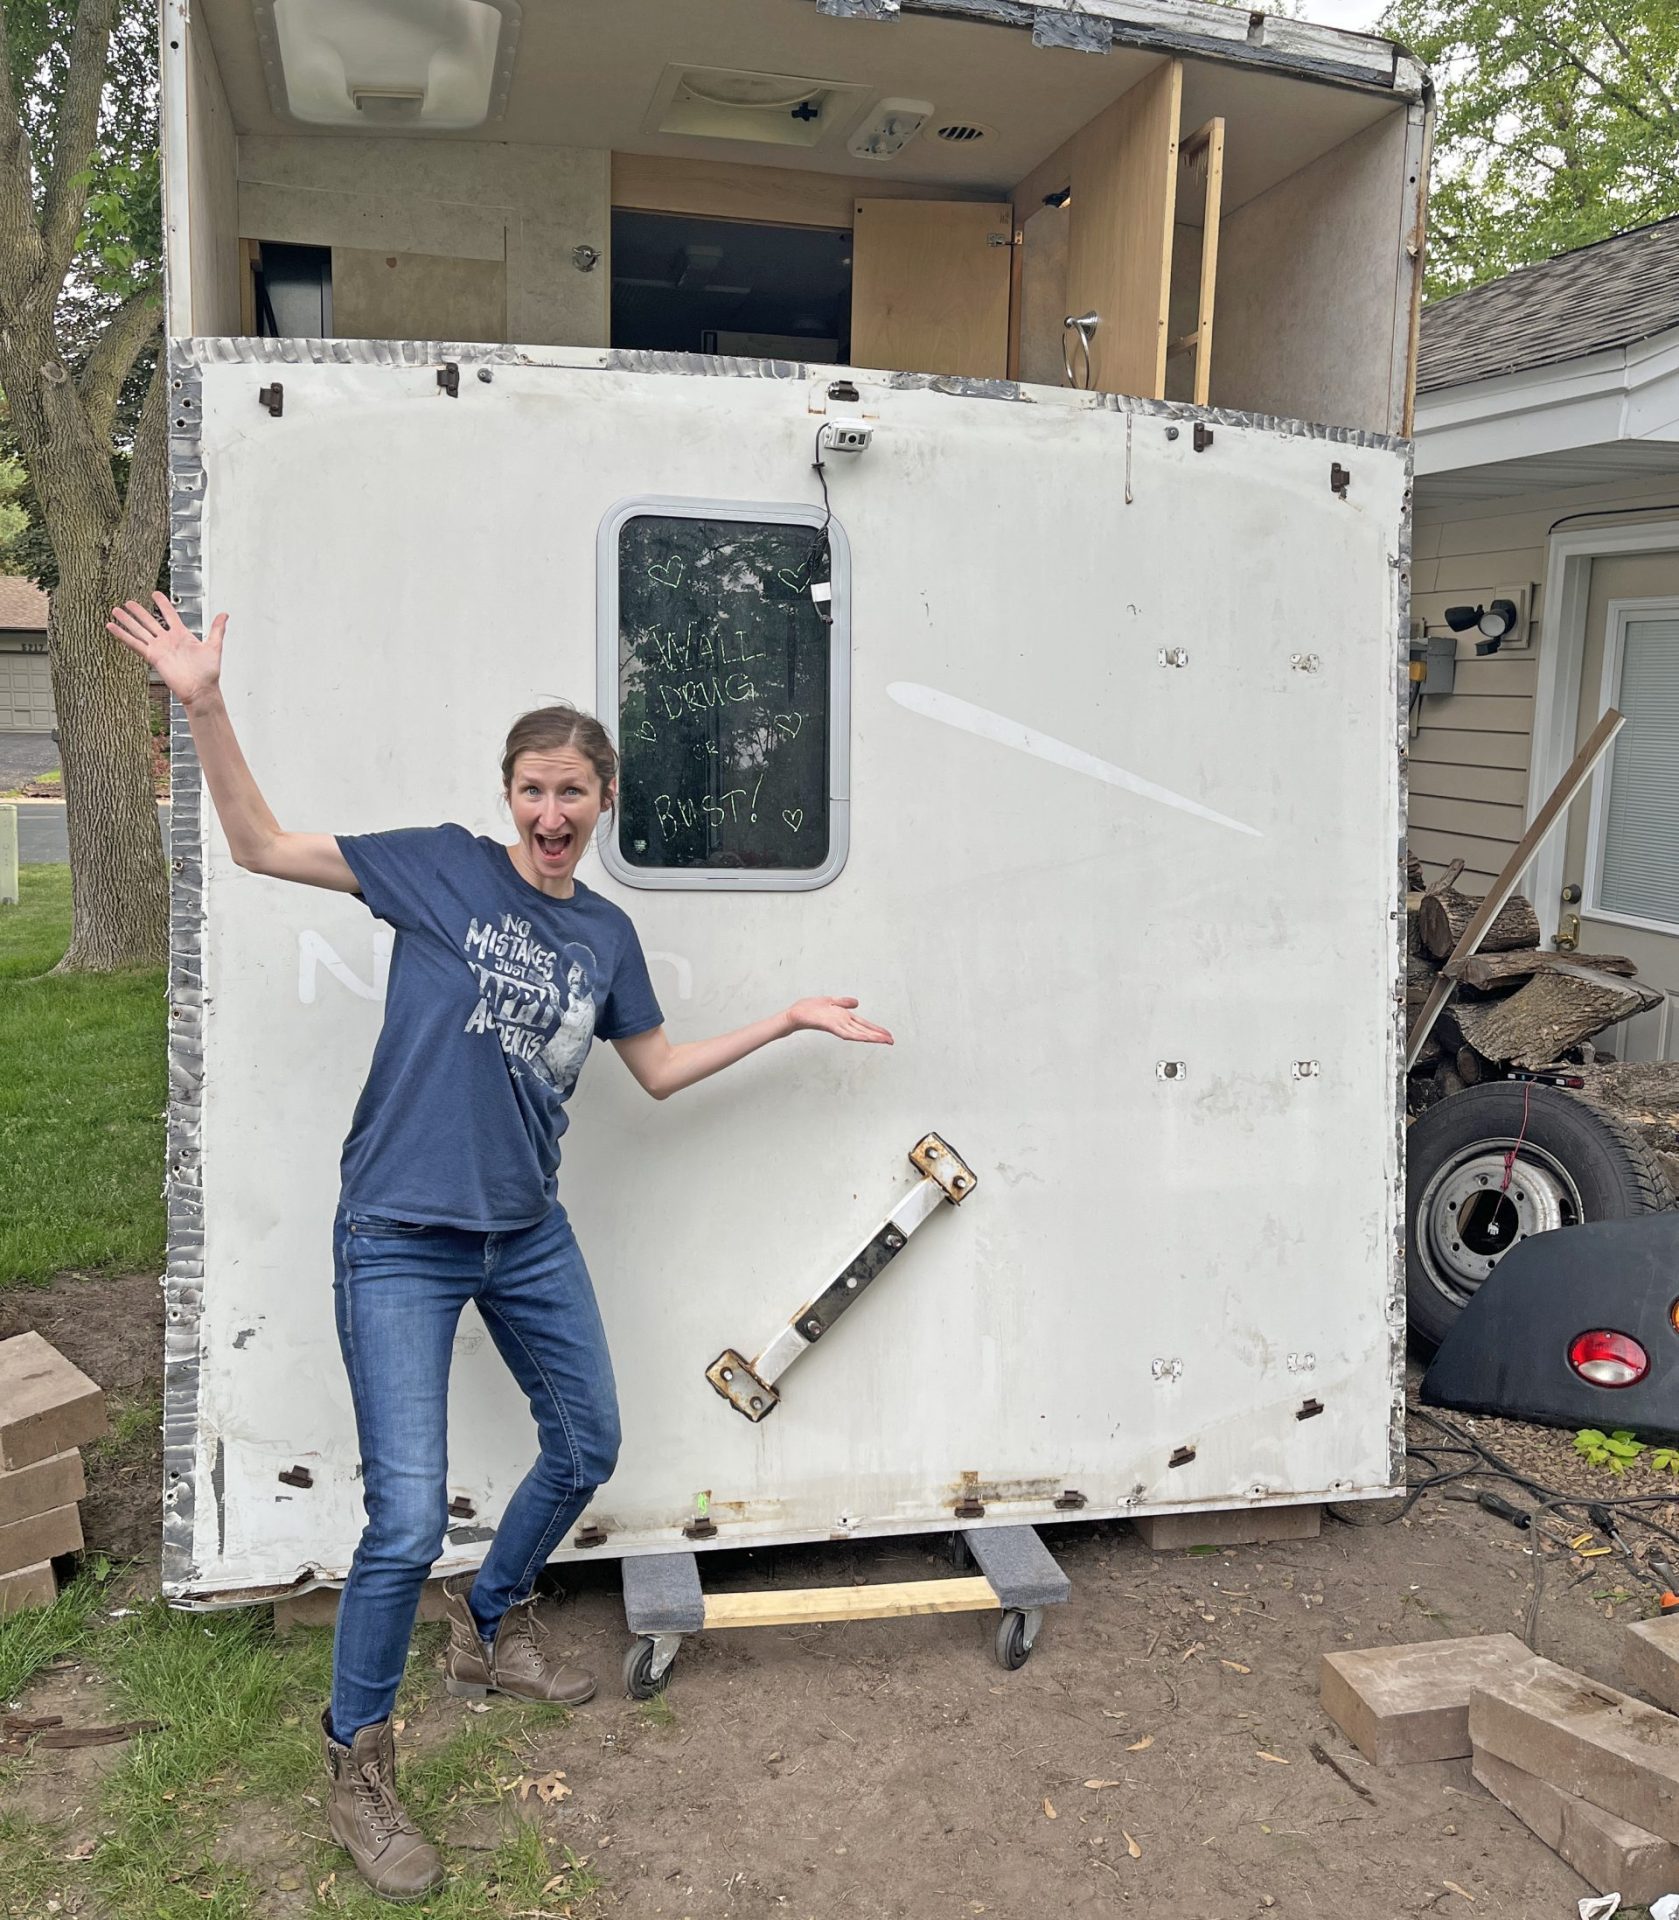
At this stage, we had to remove the back wall from the RV. This required detaching all mechanicals and walls from the inside of the coach as well as all exterior trim pieces. Once the wall was detached, it could be removed from the RV for disassembly.
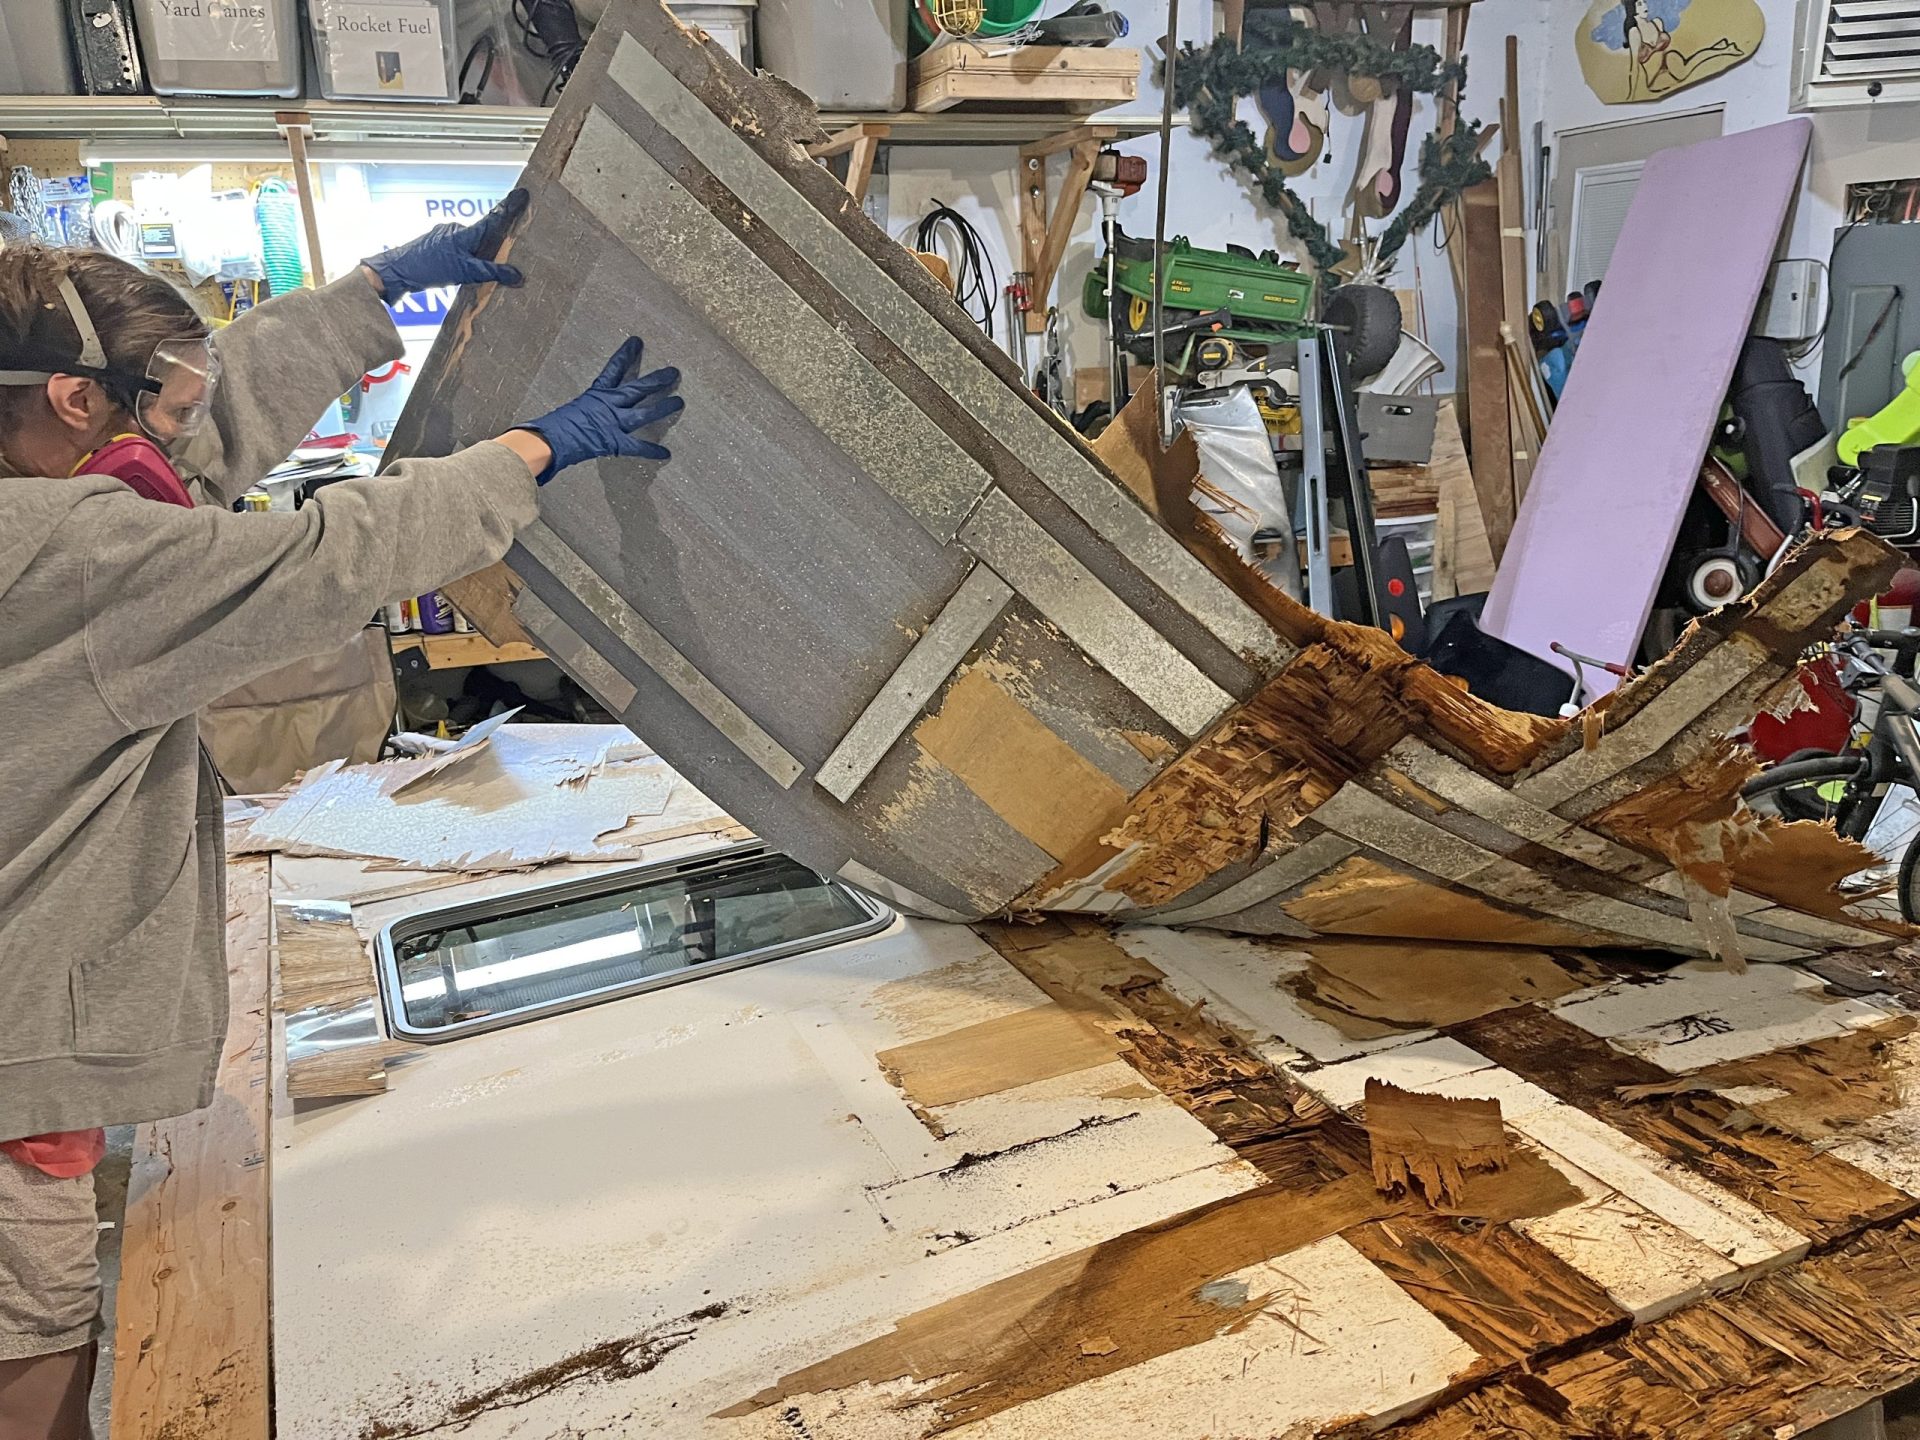
As we removed the interior lauan plywood, the extent of the damage became clear. All the lauan plywood, as well as the plywood framework, had to be removed.
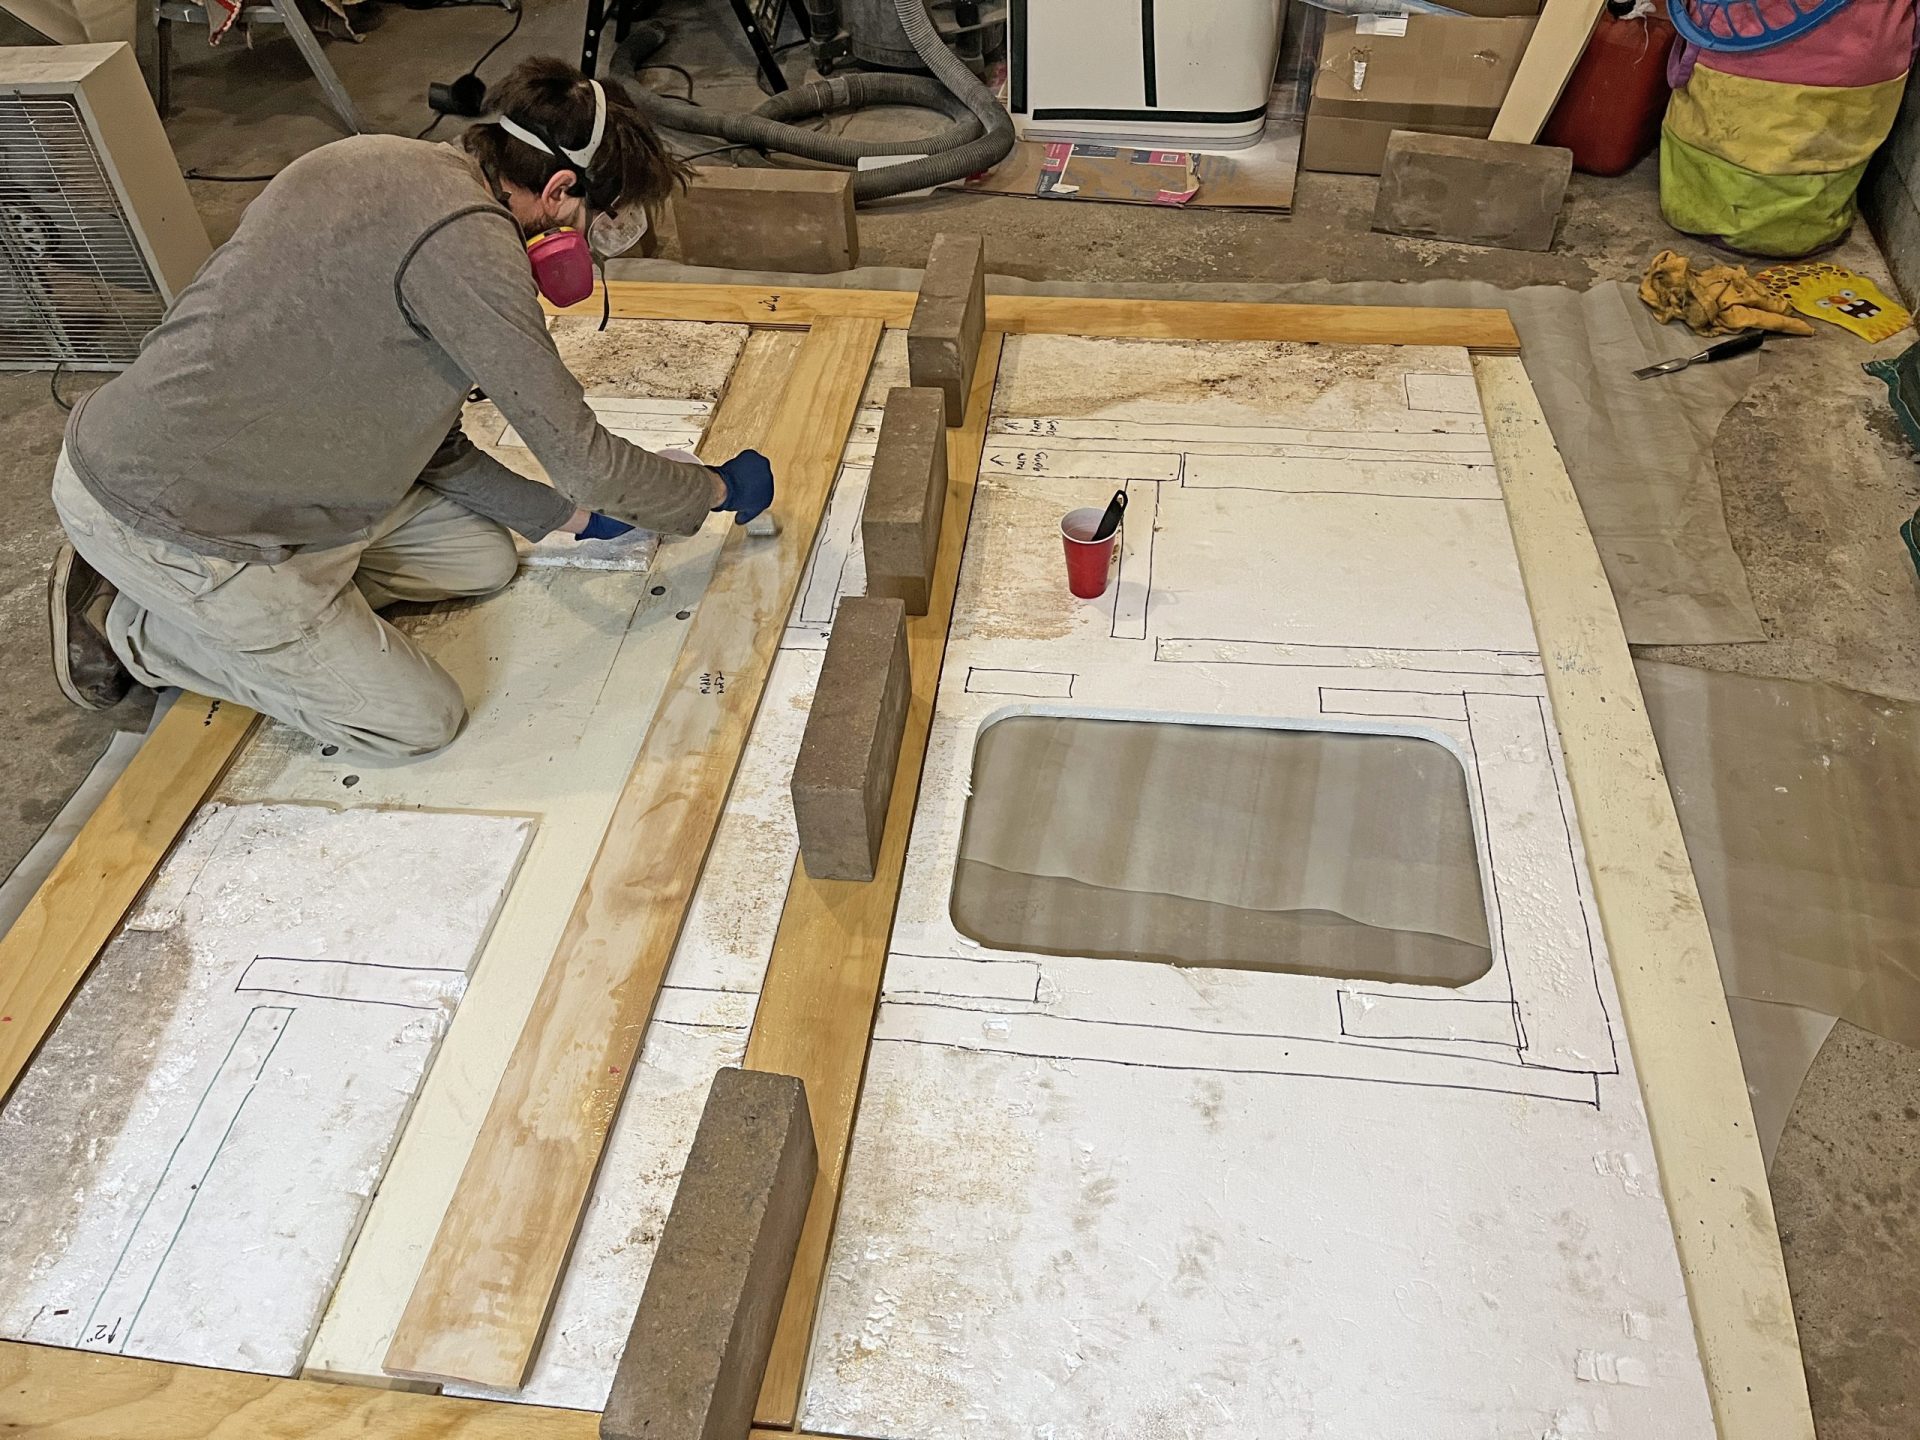
Now we could get working on epoxying the new plywood framework. The technique involved sealing each piece of plywood to ensure, even if they came into contact with water in the future, the moisture could not penetrate into the wood. Using 105 Epoxy Resin and 206 Slow Hardener, we coated each piece of plywood with three coats. Each coat was allowed to dry to a tacky finish, but not any further. Had we allowed the coat to dry further we would have needed to wait until a full cure and then sand to ensure proper adhesion before coating again.
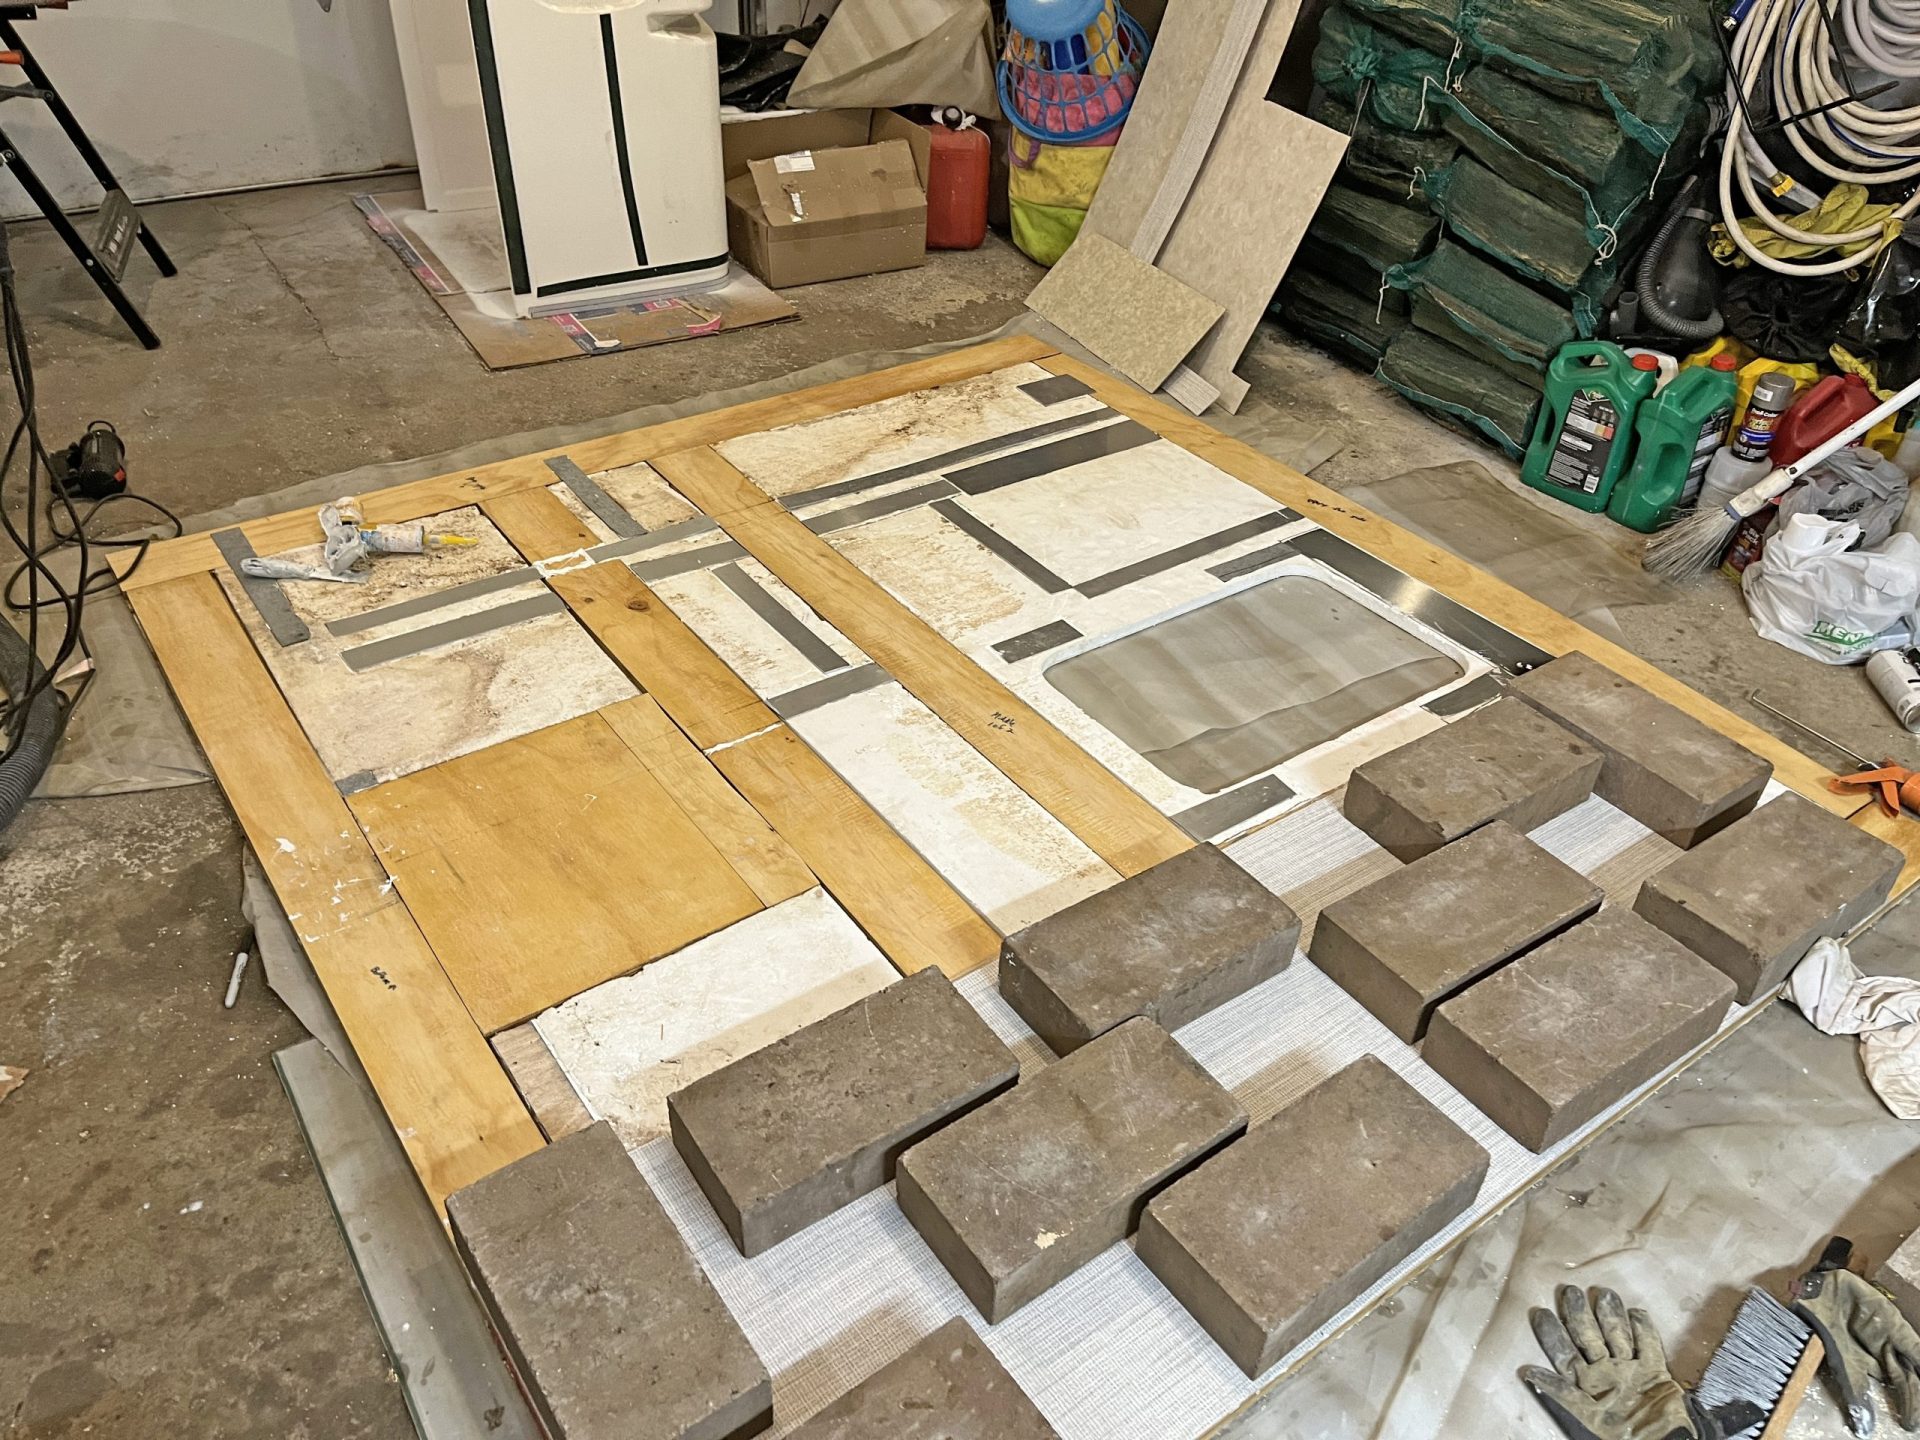
Once the plywood was coated, we could move onto bonding it to the fiberglass exterior panel. We started with applying a coat of 105/206 to wet out the uncoated side of the plywood. We then added 406 Colloidal Silica Filler to get a mayo consistency. This epoxy mix was perfect to strongly bond each plywood board to the fiberglass. We used cement blocks to help compress the laminate, being careful not to apply too much pressure which would cause all the epoxy to squish out.
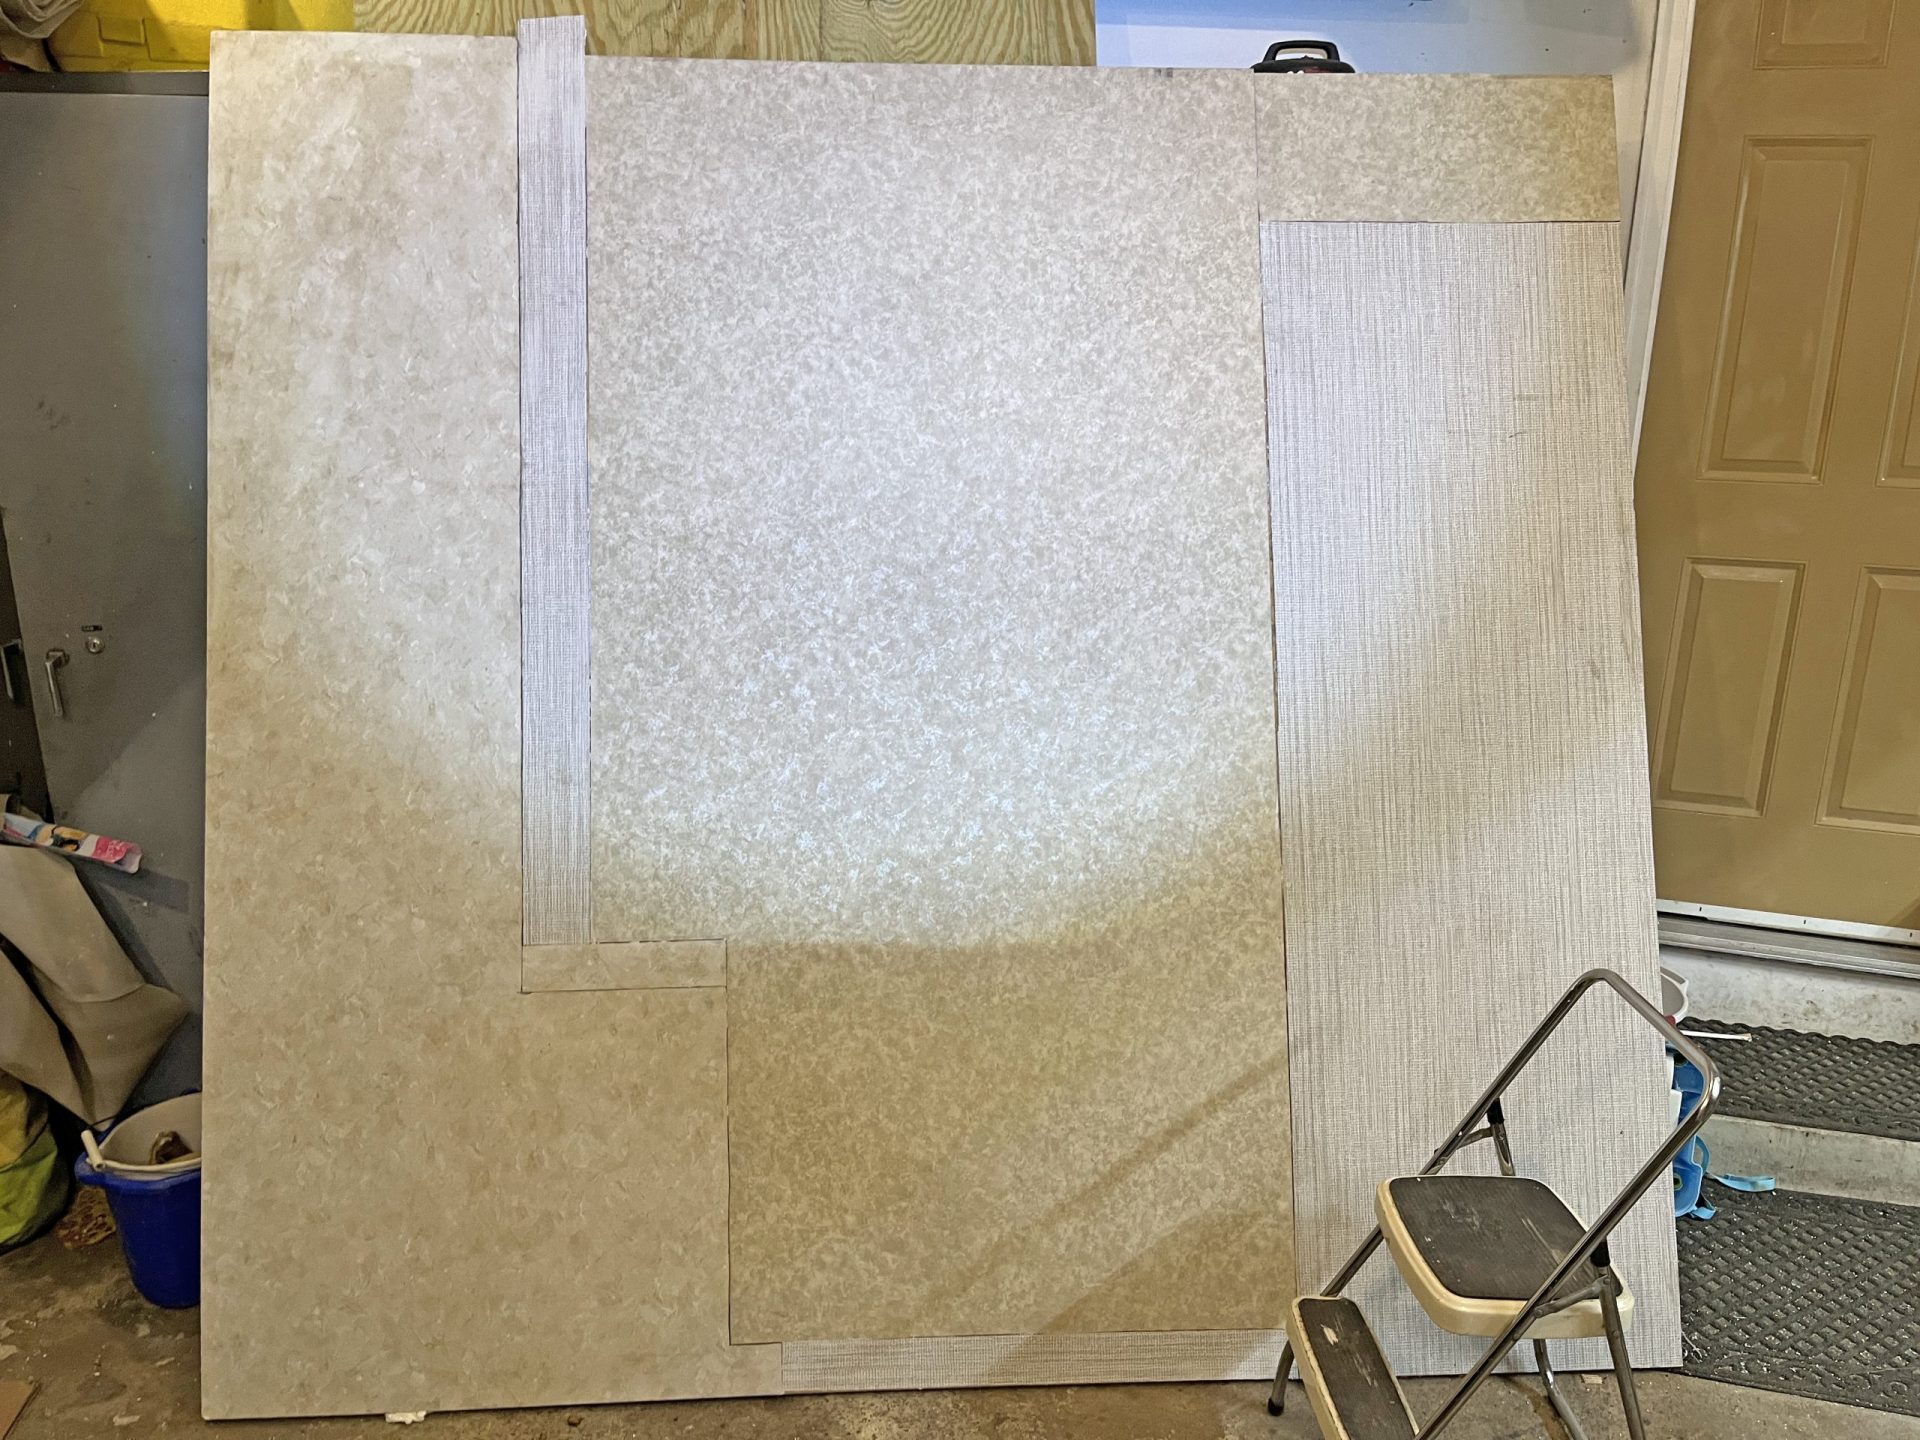
Once all the internal plywood framework was affixed, we added the final layer of interior wallpapered lauan using a flexible sealant. The finished wall was then attached back to the RV. Any place where we drilled through the plywood during the process of attaching back to the RV, we predrilled the holes, filled with epoxy to seal the wood, and then put our screws in to affix the wall to the RV.
“The finished product is sealed and much better than the original. We are thrilled to be back on the road and doing what we love. Sometimes life takes a turn you don’t expect, but having a community and partners to help you along the way makes even the worst nightmares a fun learning experience.”