
My Biggest Project Ever
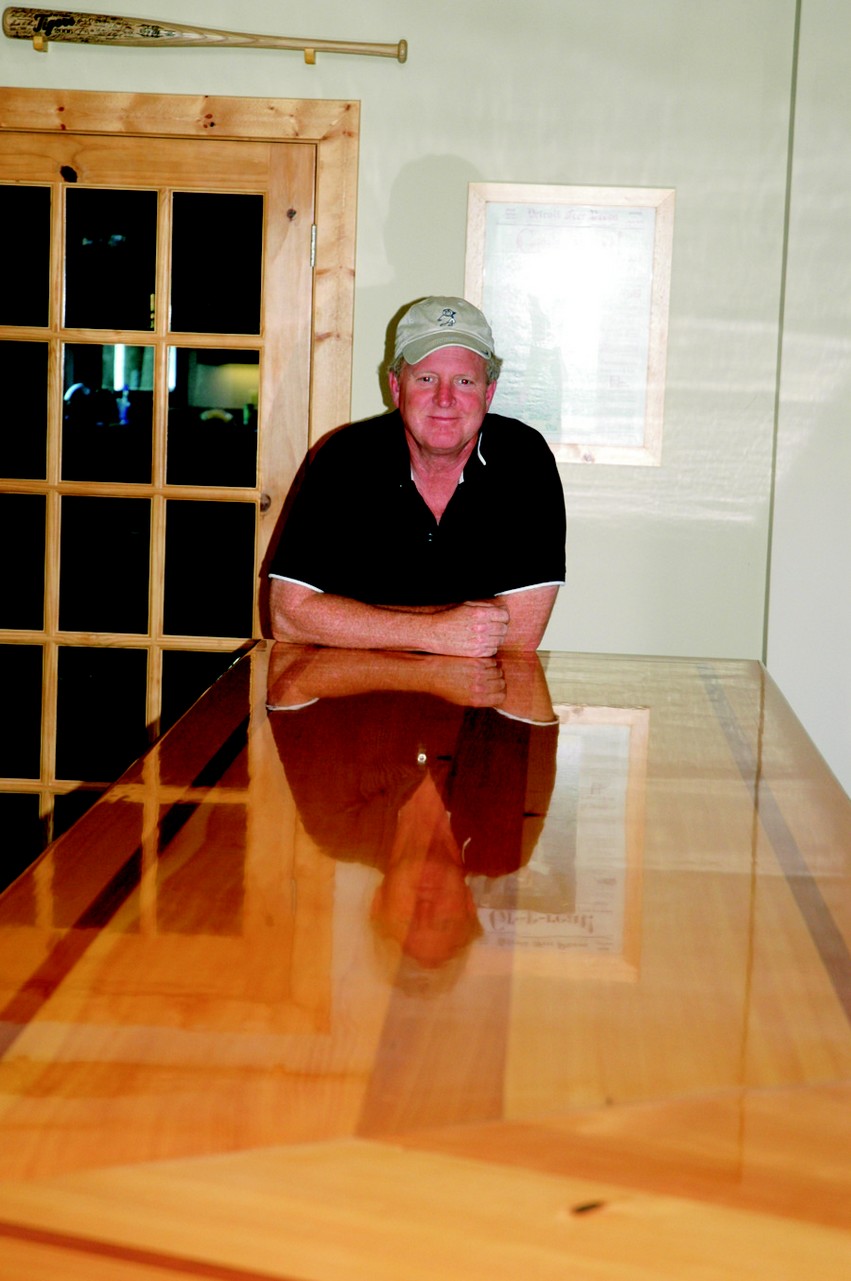
by Nelson Niederer
We’d talked about building a custom bar top for my old friend Tim’s rec room for years. Finally, I got the word it was time to “bust a move” and start building.
As an outgrowth of my love for woodworking and building stuff for myself, a few years ago I started a small woodworking business out of my garage, which is actually a shop that hasn’t felt the rubber of tires for over a decade. With the exception of my Yamaha V-Star Classic 1100, which lounges in heated comfort all winter.
A fella’s got to have priorities, right?
Tim has become a good customer of mine. Over the years I’ve built display shelves for his wife’s sports memorabilia, pool cue rack, installed her father’s classic fly fishing equipment in a bathroom, and other little projects. I prefer working with people who give me a basic idea or design and then step back and let me create the finished piece. An open checkbook is nice too.
Originally, Tim’s bar it was going to have his custom chopper displayed in an integrated glass case. (I mentioned open checkbook, right?) Different ideas flowed from that over time. When it was time to start the project, we used masking tape on the floor to get layout dimensions and put together a working design plan. Then his wife came home.
Uh-oh. About three weeks later we had a new plan to work from. To be honest, Beth was right about making the changes she wanted because the room is 1,500 square feet and an 8′-long bar would just get swallowed up in the room.
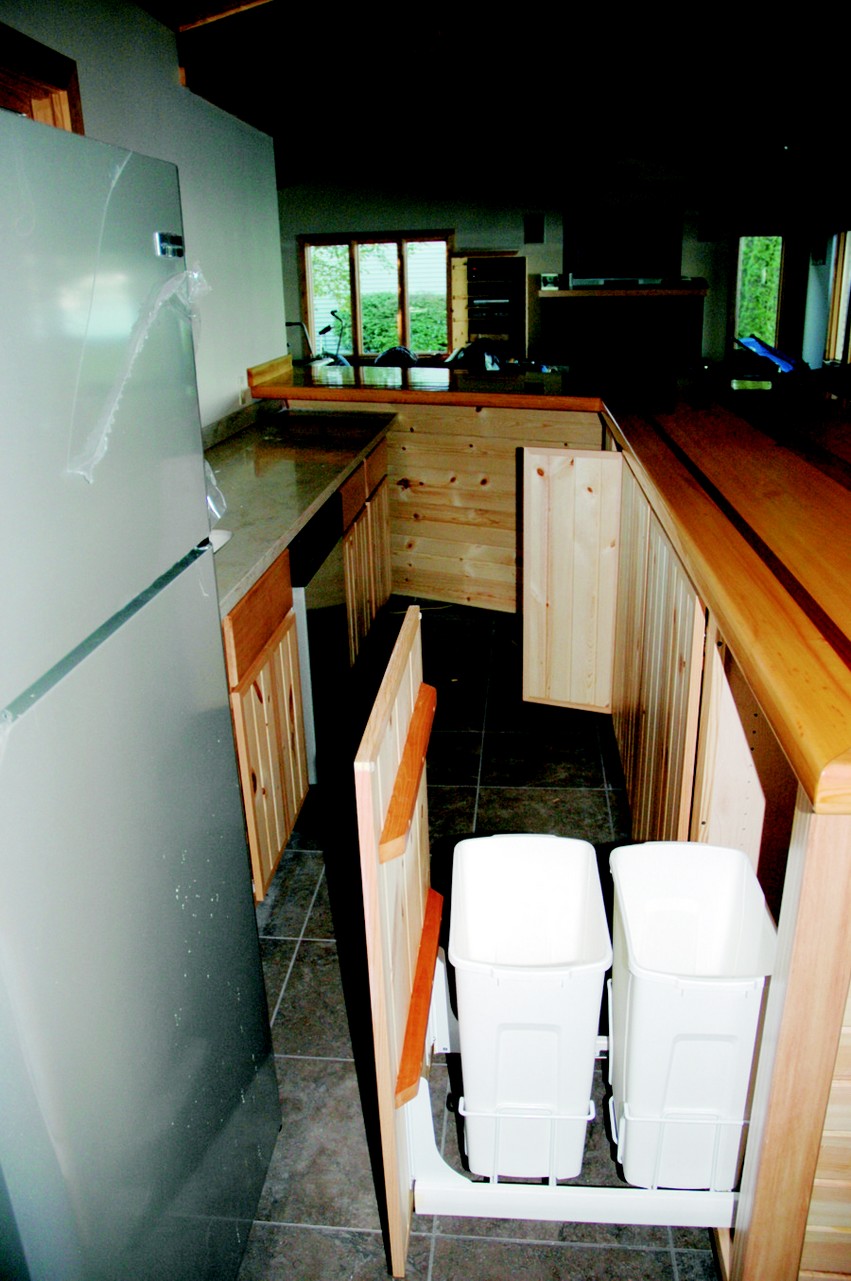
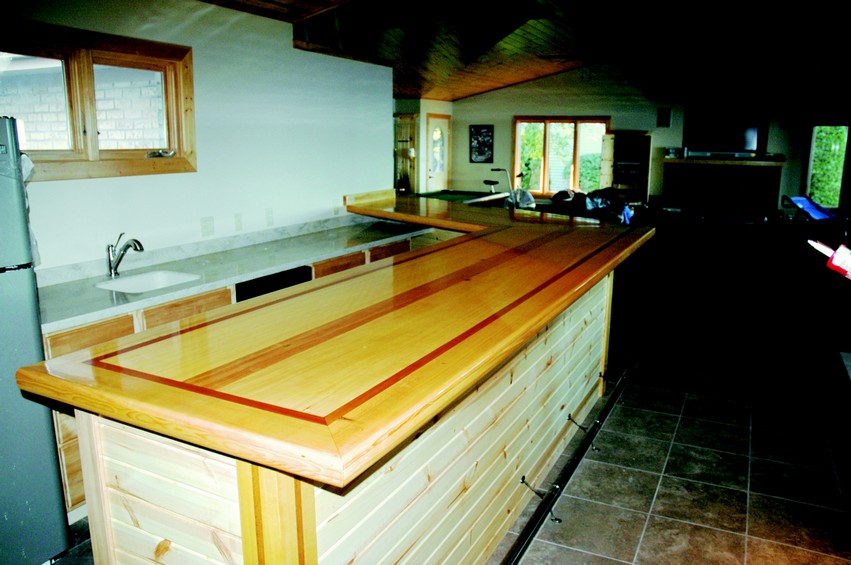
I began with a base built using particleboard covered with a wood-grained Formica™ on the inside for easy cleaning. I used pine for the face frames and finished the outside with tongue-and-groove knotty pine coated with Minwax™ Polycrylic satin finish. The corner posts are Sitka spruce with mahogany accents coated with Minwax Helmsman Spar Urethane gloss finish. This was the easy part because all the materials were available locally.
The custom bar top proved to be a bit more complicated so, armed with a blank check, I drove to L.L. Johnson Lumber Co. in Charlotte, Michigan. This place is like a candy store for woodworkers! The top was also to be made with Sitka spruce and mahogany accents, so I was pretty picky selecting the boards. I told the guys at L.L. Johnson what I was doing and they suggested using System Three Mirror Coat™ for the top finish. I told them “I’m a WEST SYSTEM® man-I accept no substitutes!” Additionally, I know that in four or five years if I have to re-coat or repair anything on the bar I’ll be able to get WEST SYSTEM 105 Epoxy Resin® and 207 Special Clear Hardener® without any problems. Did I mention that my brother Bruce is a Gougeon Technical Advisor?

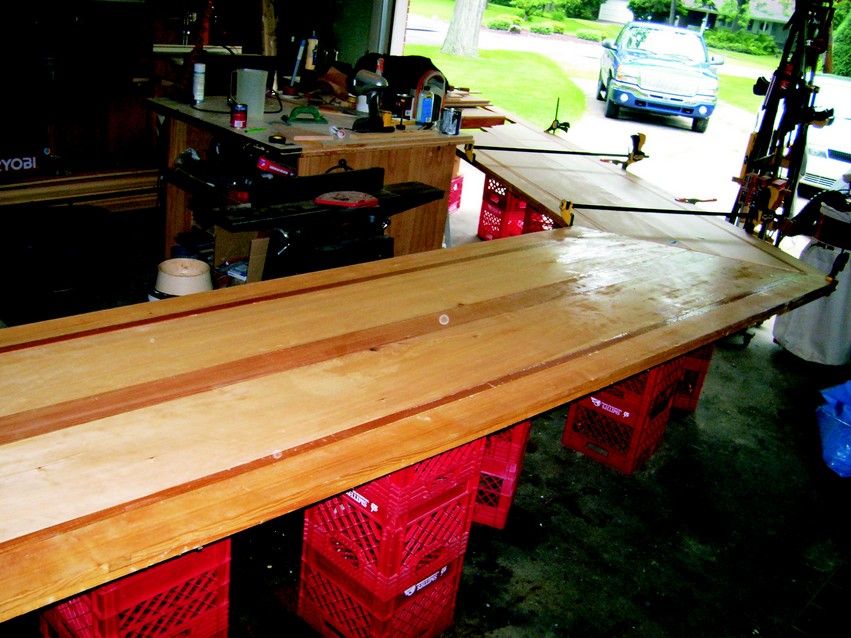
The custom bar top has four coats of 105/207 wet sanded between the third and fourth coat. It is built with a ¾” particleboard core, then a 3/4″ Sitka top and bottom. I had to make the top in two sections—14′ and 11’—and the angle where they meet was 27°. I assembled it in my shop to make sure the two sections fit together, then took it apart and moved to the job site. It took four guys to accomplish this.
Once there, I assembled the parts and coated the mating surfaces of the angle with 105/207, then clamped them together with joint ties that I had pre-installed. The whole top got a final sanding with 600-grit paper followed by four coats of High Gloss Spar Varnish for a tough finish. I always learn a few things on every project since they are one-of-a-kind custom pieces. Working on this project I learned:
- It doesn’t matter what you like—make sure the wife likes it first.
- Don’t try to build a 30′ part in a 25′ shop.
- It really helps to have a son-in-law who’s a cabinet maker. (Thanks, Brian!)
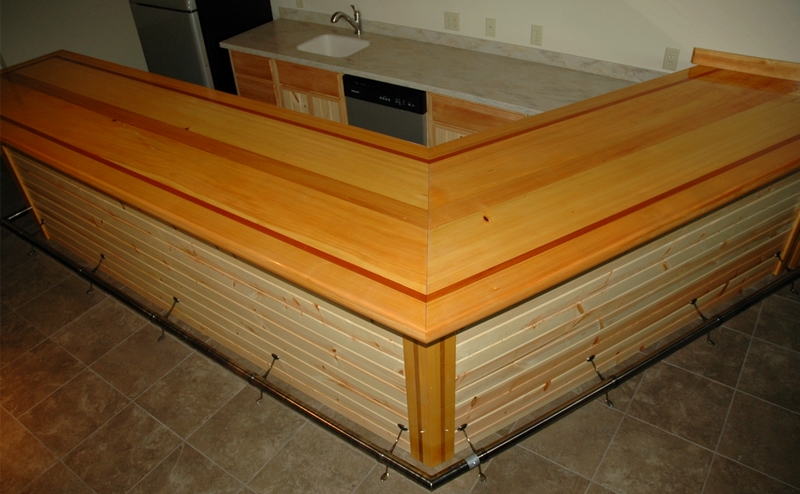
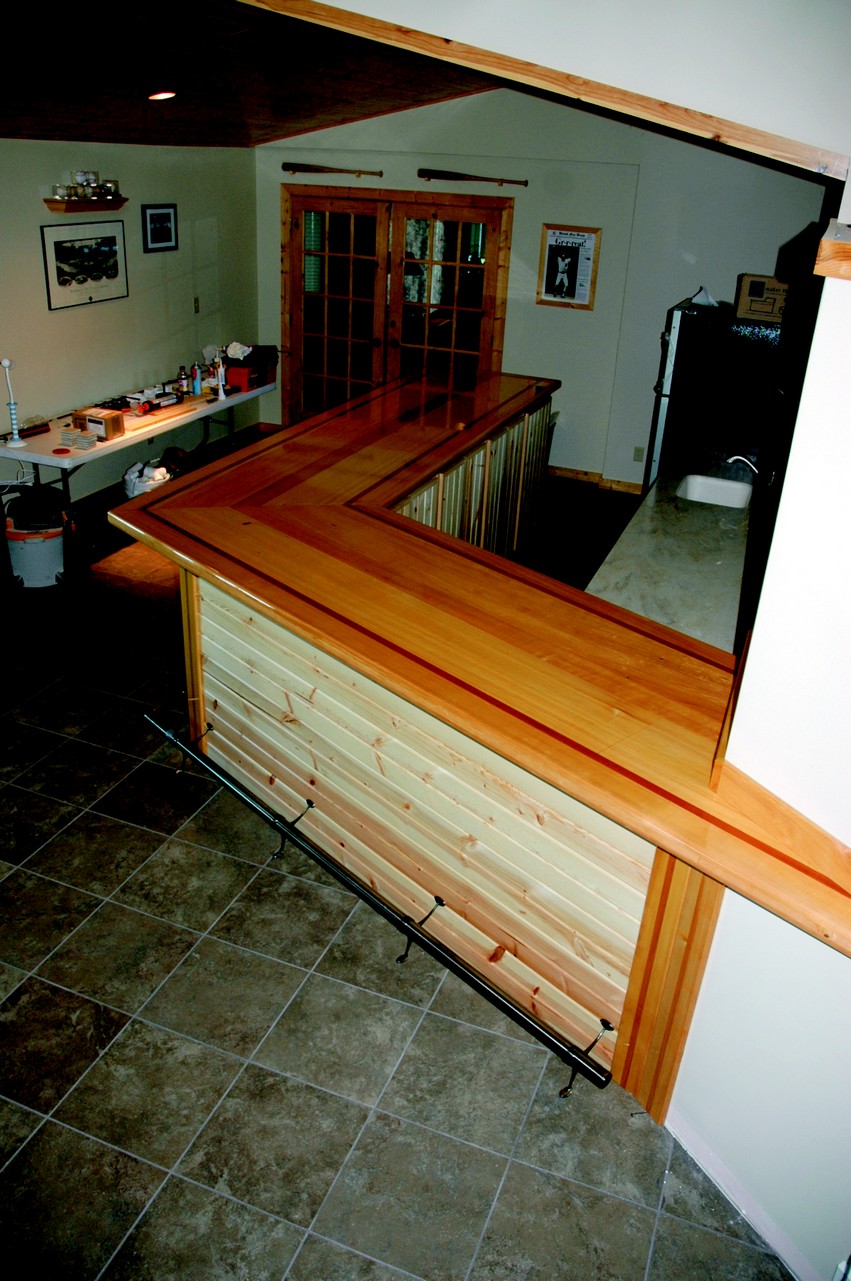
When all was said and done the bar with its custom bar top turned out awesome. It’s the biggest woodworking project I’ve tackled to date. Most importantly, Beth liked it!