

By Don Gutzmer – GBI Technical Advisor
If your swim platform is experiencing water penetration, a repair or even a rebuild could be in your near future. We’ll show you how to measure the damage, and perform a successful repair that will last for years to come.
The wooden core in fiberglass boats will rot unless properly sealed to prevent water intrusion. Holes drilled for wiring or to mount hardware commonly expose wood’s grain, absorbing water and leading to rot. This happens frequently in areas like wooden stringers, cockpit soles, balsa-cored decks, and transoms. Swim platforms are one area that typically suffers water intrusion but are often overlooked. They are drilled into for mounting and are constantly wet. This is the perfect combination for rot, but it can be fixed.
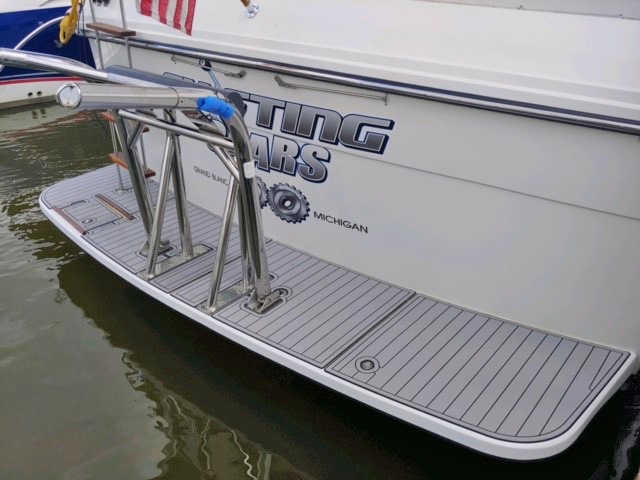
A 1986 Carver swim platform made its way to our shop. I wish I could say it came off my 50-foot boat—maybe someday. I guess I better start playing the lottery. The deck of the swim platform was spongy. Upon inspection, it was obvious the core was rotten near the multiple holes drilled for mounting the davits for a dinghy and other hardware. This repair is a good example of how to replace a rotten balsa core and provide reinforcement to support the davits.
Assessing the Damage
To determine the extent of the damage, I used a moisture meter to gauge the moisture content of the core across the entire swim platform. Despite the boat having sat in dry storage all winter, the readings were all above 20%. When moisture concentrations of this level are prolonged, rot and fungi will begin to grow. It was obvious that the entire core needed to be removed.
The owner wanted to adhere new synthetic teak deck material to the existing non-skid surface after I completed the platform repair. The non-skid texture would provide a good substrate for the synthetic teak’s adhesive to key into, and the teak would cover any cosmetic imperfections. Our plan was to save the non-skid topside of the laminate and remove the rotted core from underneath.
Getting Started
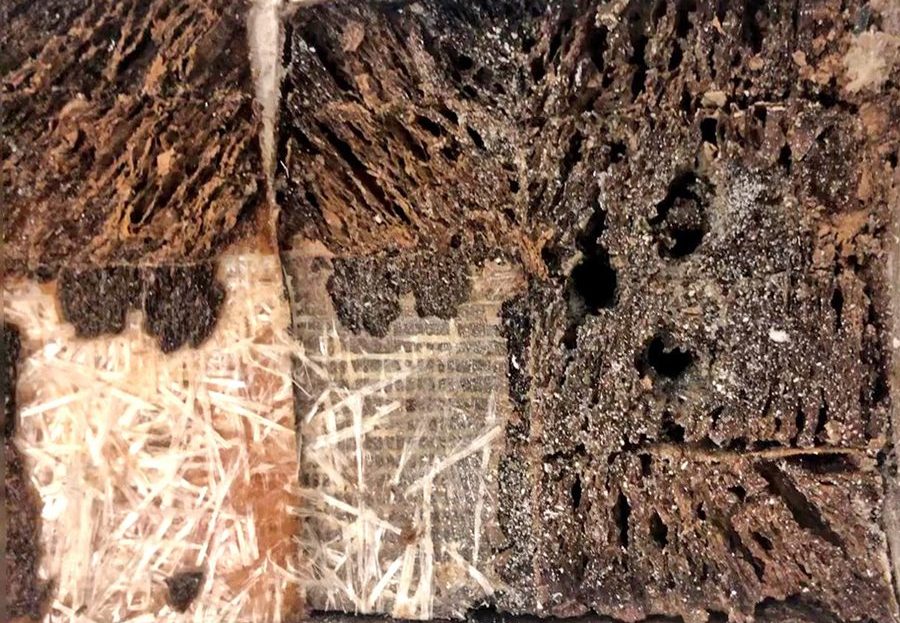
To start the repair, I used my vibrating multi-tool to cut the thin fiberglass laminate around the perimeter of the swim platform. With the laminate removed, it was obvious the majority of the core was at some stage of rot. In areas where the core was extremely rotted, you could just wipe your hand over wet balsa to remove it. In areas where the balsa was still in decent condition, it took more effort to remove.
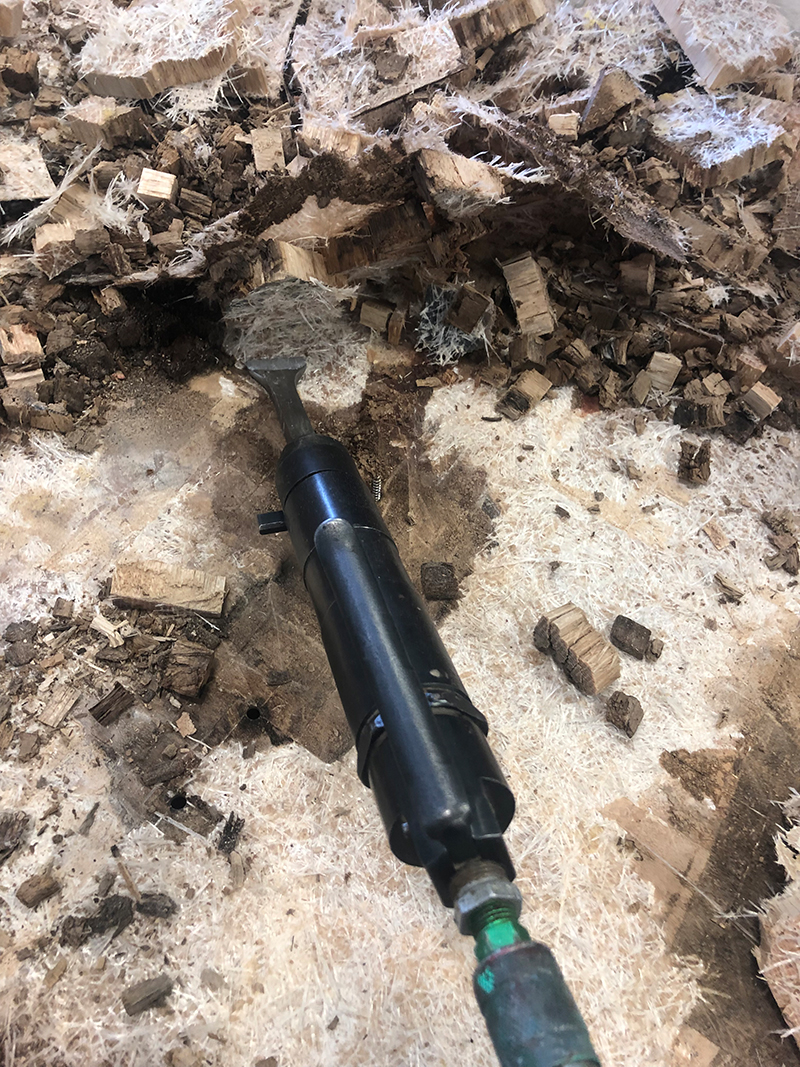
A flat pry bar and sledgehammer were good tools to remove the rotted balsa, relieve some personal stress, and still accomplish the job… for a while. It did not take long to realize there must be a better way to remove the core than swinging a sledgehammer. A pneumatic chisel was the answer. The key was keeping it at a low enough angle to hit the balsa and not cut through the thin top laminate of chopped strand mat with its gelcoat non-skid.
After removing the balsa, I sanded the fiberglass surface with 60-grit sand paper on an orbital sander. This flattened the area and created a level profile to start the rebuilding process. The chopped strand laminate was very thin, and since this platform would need to support a dinghy, it needed reinforcement with a couple additional layers of fiberglass.
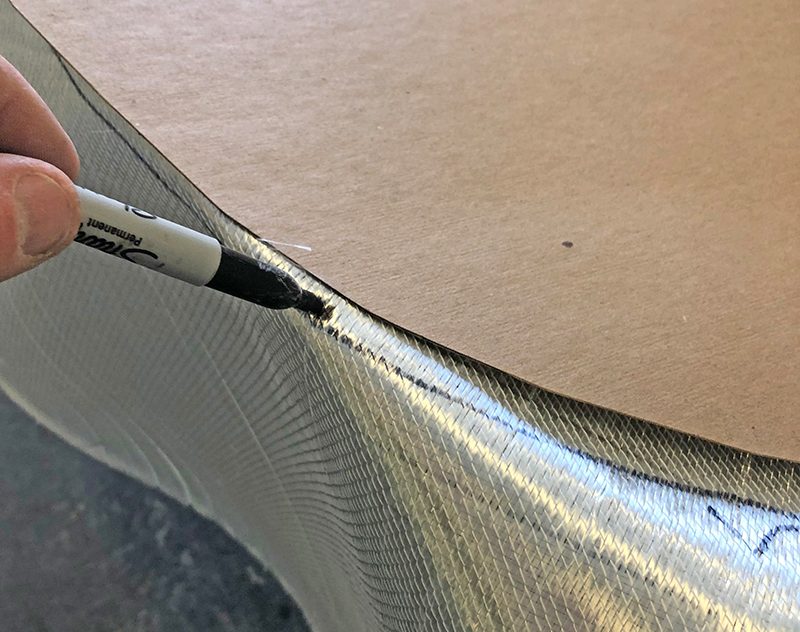
Thinking ahead, I knew I would need to cut the same shape for these initial layers of fiberglass, the balsa core, and the layers of fiberglass that would ultimately cover the core. It was well worth my time to make a template of the inside of the swim platform with thin cardboard. Tracing the template’s shape onto my materials improved my cutting accuracy and made the subsequent layers go much faster.
Fiberglassing With Epoxy
For my initial reinforcing layers of fiberglass, I cut two layers of 737 Biaxial Cloth (a total of 30 oz.) to be applied over the chopped strand mat. I used WEST SYSTEM®105 Epoxy Resin® with 206 Slow Hardener® to provide adequate working time for me to move at a steady pace and not rush. I saved time by pouring the epoxy by volume rather than using the 300 Mini Pumps.
The Mini Pumps are excellent for small to medium batches of epoxy. However, for the amount I needed for the repair, it was faster to measure by volume than to do the required number of pumps.
I covered half the length of the swim platform with a heavy coat of 105/206. Then I laid the first layer of 737 Biaxial Cloth into the wet epoxy and ran an 808 Plastic Spreader over the surface at a low angle, forcing the epoxy through the fabric. I applied more epoxy, saturating the fabric, then immediately applied the second layer of fabric in the same manner. The last step was covering the surface with 879 Release Fabric. I did this for three reasons:
- To keep the surface clean as it cured
- Minimize surface preparation
- Provide texture for adhering the new balsa core
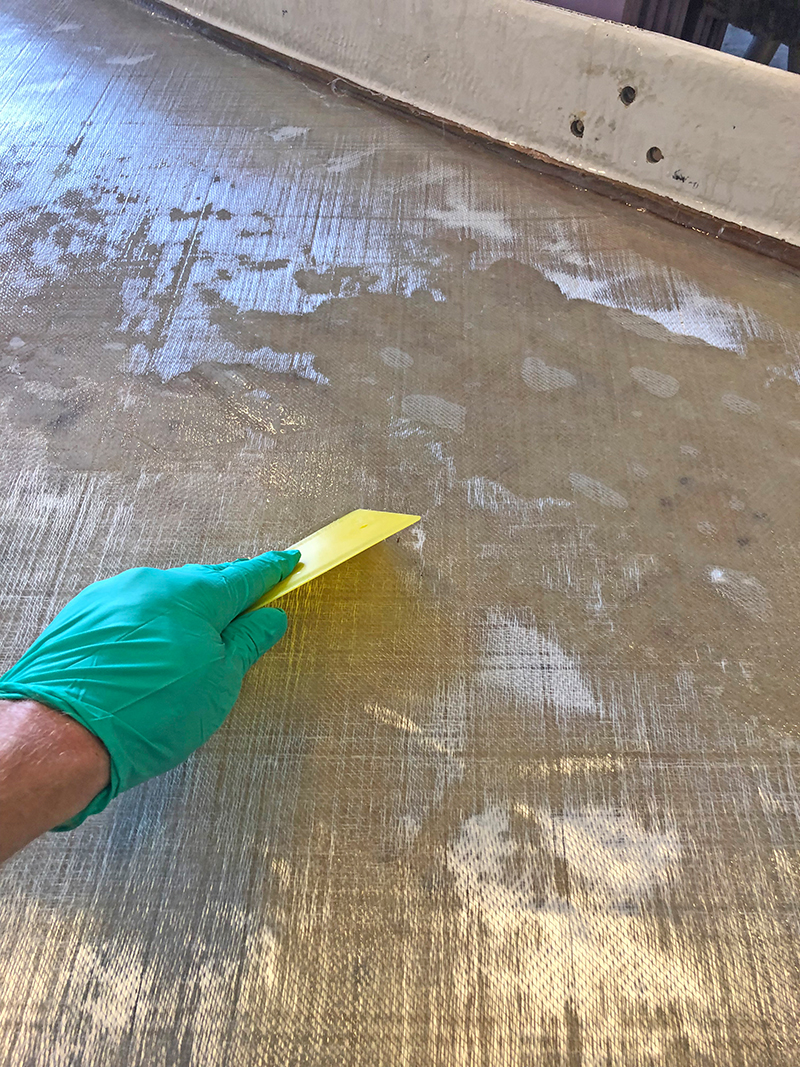
Release Fabric is simply peeled away after the epoxy cures, leaving a surface that won’t need washing or sanding before applying more epoxy.
Installing the New Balsa Core
For boat repairs, I try to match the original fabrics and cores used in the boat’s construction. The swim platform originally had ¾” balsa core, which I duplicated. I made an exception for the middle of the swim platform where the davits would be positioned to hold the dinghy. Here, I used marine-grade plywood. This provides better strength preventing the core from being crushed over time by the weight of the dinghy.
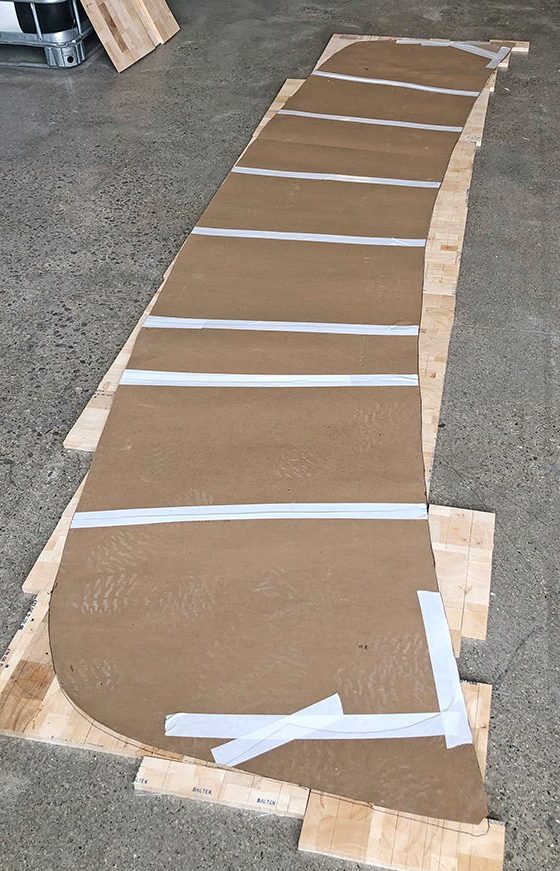
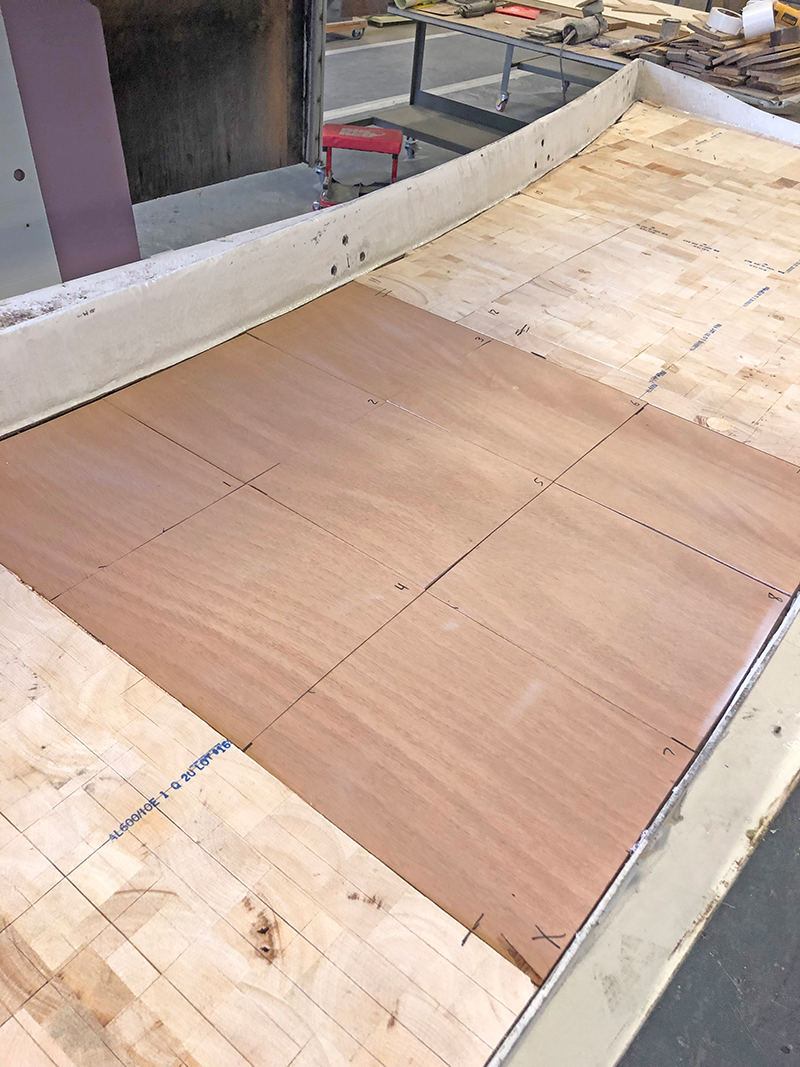
Before beginning the epoxy process, I wanted to cut all of the core materials. First, I laid the plywood and balsa core side-by-side in the order I planned to install them. The plywood section would be in the middle to support the davits, and the balsa core would be on the outer ends of the swim platform. I centered my cardboard template on the assembly and traced around it with a felt-tip marker.
I cut the balsa and plywood down to size, and then further cut the plywood portion into nine smaller square sections. This made them easier to install and minimized air entrapment (air trapped between the wood and epoxy could significantly weaken the swim platform). I numbered each core piece as I cut to ensure I’d installed them in the correct order. I dry fit them before proceeding to prevent struggling with shaping wet, epoxy-coated pieces during the layup process.
I removed the Release Fabric from the previous layers of fiberglass and started the installation on the left end of the swim platform. I thickened a batch of 105/206 with 406 Colloidal Silica Filler to a non-sag consistency. With the 1/8″ side of the 809 Notched Spreader, I spread the thickened epoxy where the first section of balsa core would go.
Following the Baltek® balsa core processing guidelines, I coated each kerf of the balsa core with unthickened epoxy. Pre-coating this way allows the epoxy to flow into the kerfs more easily during installation. This is important because the epoxy compartmentalizes the balsa core, therefore limiting the spread of moisture in the event of moisture intrusion. It also adds a little extra strength to the balsa core.
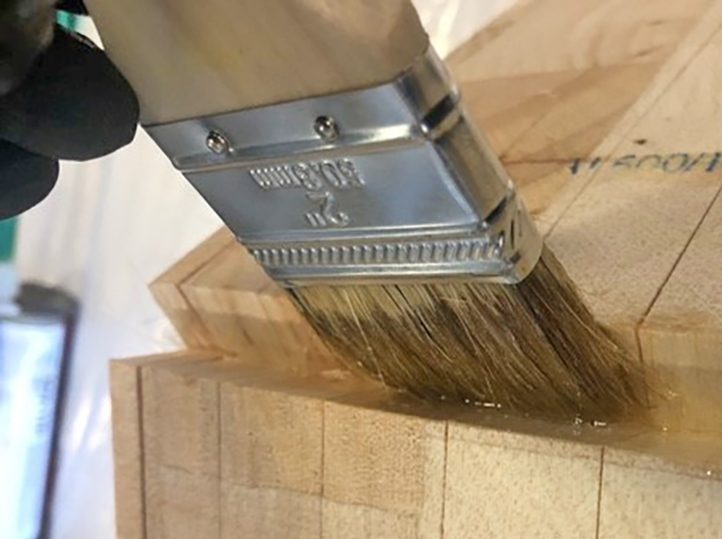
Many production builders don’t take the time to perform this extra step, but I felt it was important for this project. I worked row-by-row, coating the kerfs in one direction, and then rotating the core 90 degrees to coat each kerf row in the other direction. It was time-consuming work, and I needed to mix multiple small batches of epoxy. I found it helpful to have someone open the kerfs in the balsa while I quickly brushed on the epoxy.
As each piece was coated, I firmly pressed it into the thickened epoxy base to ensure the balsa core and epoxy made good contact. Excess epoxy squeezed out of the kerfs. I ran a plastic spreader over the surface to spread the squeeze-out into any remaining voids. Then I coated the surface of the balsa with unthickened epoxy before moving on to the plywood.
I mixed another batch of the 105/206/406 and applied it to the center of the platform with the notched spreader, as I had done for the balsa core. To ensure all of the end grain was sealed, I coated the edges of the nine sections of plywood with neat epoxy before setting each into the bed of thickened epoxy. I applied a layer of Release Fabric over the core I’d already installed, and worked it into the wet epoxy with a spreader. The following day, I repeated this process to install the remaining balsa core section.
Adding Reinforcements
Once everything cured, I drilled oversized holes for mounting the hardware and filled them with thickened epoxy. This ensured that moisture wouldn’t intrude into these holes again. I started this process by removing the Release Fabric and then flipped the swim platform over to work from the non-skid side of the platform, the top. I found each of the original holes and drilled them out with a 1/8″ bit. This was to mark the location for drilling the oversized holes. I flipped the swim platform over, so I was working from the bottom again, to prevent the oversized holes from being visible on the top of the platform once finished. I used a 3/4″ flat paddle bit to drill into the balsa. When the bit hit the fiberglass, I stopped. A shot of compressed air helped to remove any debris from within the hole. I briefly turned the platform top-side-up again to tape off all the holes before returning it to the bottom-up position. Time for epoxy.
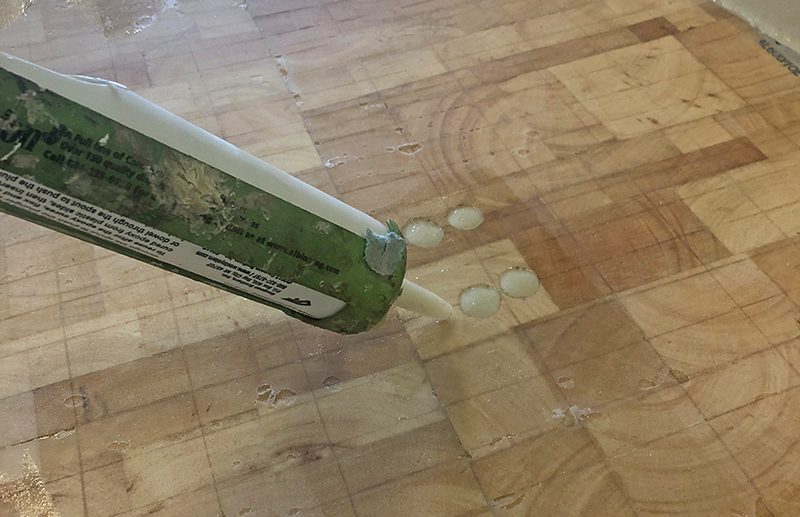
I coated each hole with unthickened epoxy before filling them with thickened epoxy. This was because the neat epoxy has a lower viscosity, so it bonds to the core more effectively than thickened epoxy. With the epoxy still wet, I filled an 810 Fillable Caulking Tube to easily inject the thickened 105/206/406 mixture into each hole. When the epoxy cured, I flipped the platform again, top-side-up, removed the tape, and re-drilled each hole to its finished dimension.
Now it was time to close up the bottom of the swim platform. To avoid forcing the fiberglass into a 90-degree corner at the sides of the swim platform, I applied a fillet of thickened epoxy around the perimeter. While that was curing, I prepared the final layers of laminate. To replace the laminate with a thickness similar to the original, I used two layers of 737 17 oz. Biaxial Fabric and one layer of 742 6 oz. Fiberglass Fabric. Each layer of fiberglass was cut approximately 3″ larger than the template, allowing extra material to wrap up onto the sides, just as it had originally.
I sanded the entire cured surface well with 80-grit and was ready to apply the fiberglass. The process was similar to installing the initial layers reinforcing the top of the swim platform. I only mixed enough epoxy to coat half of the swim platform. I applied the three layers of fiberglass, one after the next. First were the two layers of 17 oz. Biaxial Fabric. I applied the 6 oz. Fiberglass Fabric last because I knew it would give me a smoother finished surface and would easily wet out with the excess epoxy from the previous two layers. I then mixed another batch of epoxy to wet out the remaining half of the fabric.
Finishing Touches

I applied a layer of Release Fabric and made sure that it was smooth with no air pockets. After the epoxy cured, I removed the release fabric and touched up any flaws with thickened epoxy. I removed any amine blush from the touch-ups with water and an abrasive pad before sanding the epoxy dull in preparation for paint.
To finish the surface, I painted it with white Interlux® Brightside® one-part polyurethane, applying a couple of coats over the entire bottom and edge.
If you’re willing to put in the work, you can fix things better than they were new. The swim platform is now structurally sound and can properly support the dinghy davits. The steps I took will ensure the new plywood/balsa core will remain dry for years to come.
Swim Platform Corner Damage Rebuild
Besides the rot damage, the corner of the swim platform had been crushed. Since I’d torn the swim platform apart to remove the rotten core, it was an excellent opportunity to repair the corner.
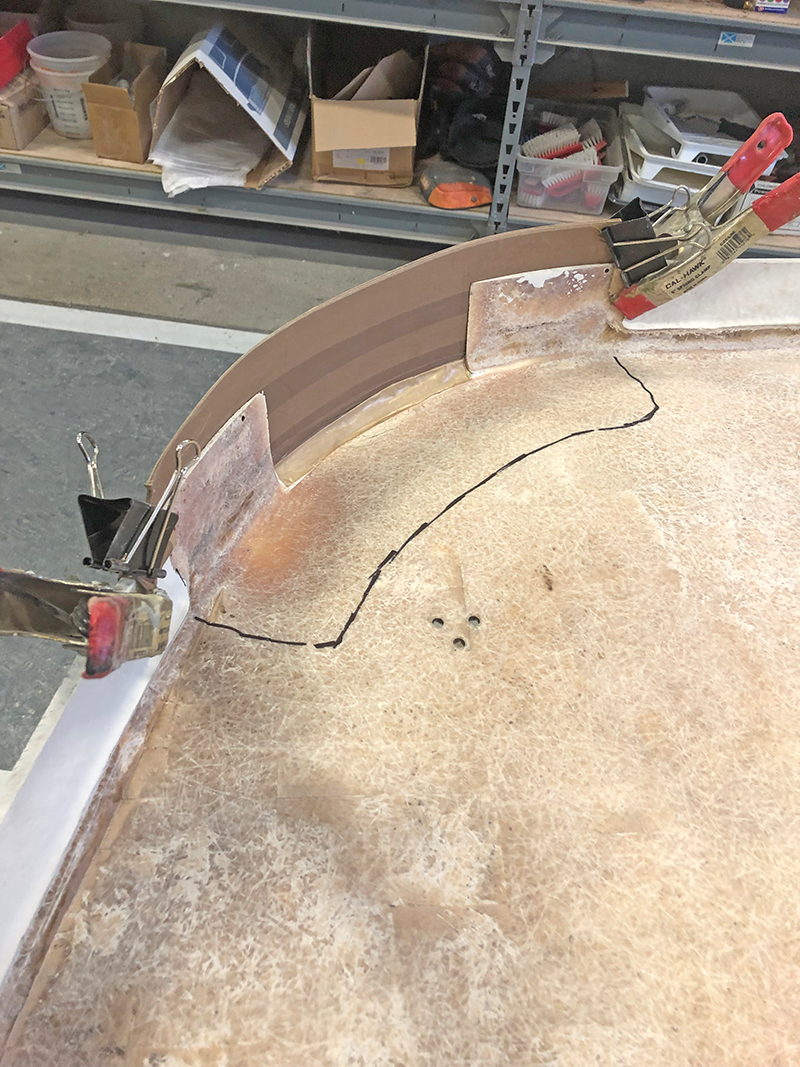
1. I cut away the damage and ground the fiberglass to a 12:1 bevel using an angle grinder with 36-grit sandpaper. To maintain a uniform curve while rebuilding the corner, I fabricated a mold with thin cardboard and covered it in Teflon™ tape to act as a release agent. Spring clamps held the mold in position. I needed eight layers of 737 Biaxial Fabric to rebuild it to the original thickness.
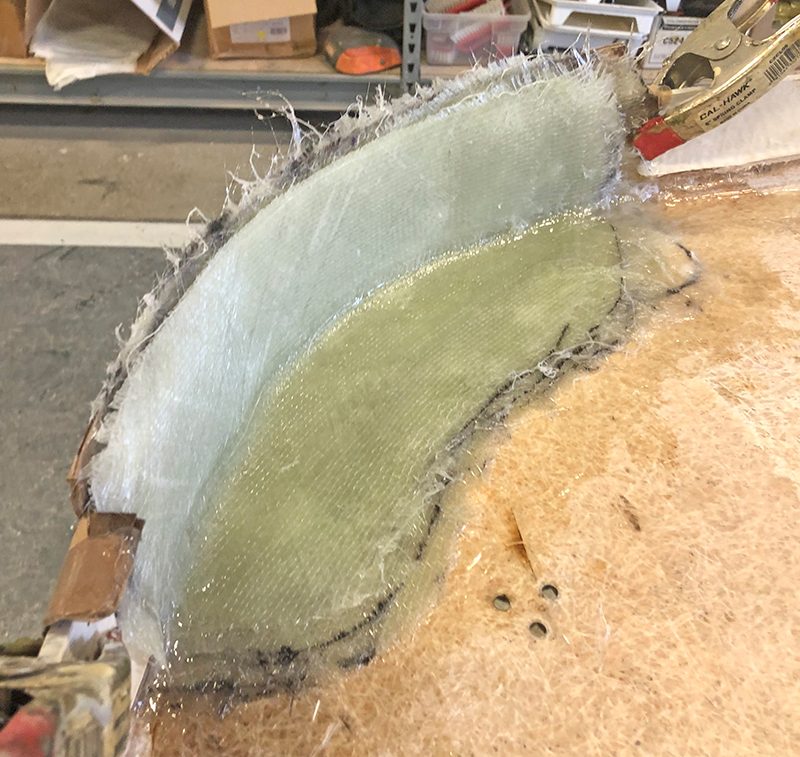
2. I wet out each layer of Biaxial Fabric in the mold, one after the next, using WEST SYSTEM® 105 Resin® and 206 Slow Hardener®. Once the epoxy cured, I trimmed the excess fiberglass and ground it fair with the original laminate on the inside and outside. Then I removed any additional material on the inside that might interfere with installing the new balsa core.
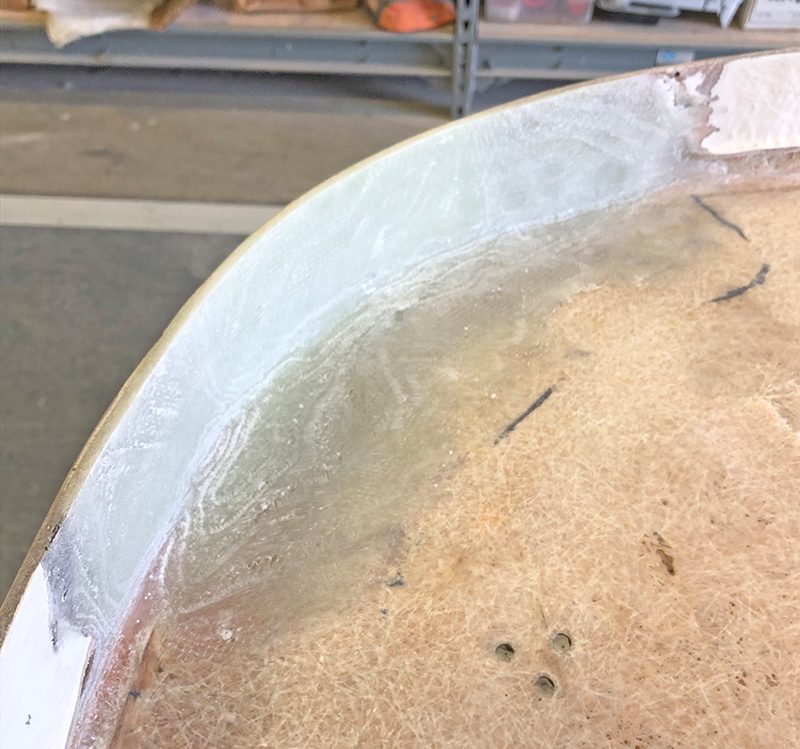
3. To finish smoothing the outside of the corner, I started with 60-grit on an orbital sander and worked down to 180-grit.
The swim platform’s damaged corner now looks good as new. This repair will last for many years to come.
Watch the Swim Platform Repair from start to finish!


