

By Bruce Niederer — Retired GBI Technical Advisor
Helping my brother Nelson build two Chesapeake Light Craft (CLC) stand-up paddleboards was one of the first projects I started after retiring. We were building them for the best kind of friend—the paying kind. I guess I’m one of those guys who finds retirement much busier than work. In fact, I wonder how I ever found time to work.
Choosing a Stand-Up Paddleboard Model
CLC offers various options to fit their customers’ pocketbooks, ambitions, and skill levels. You can simply order the stand-up paddleboard plans and cut all the parts from plywood in your own shop. I doubt many take that option because of the inner grid work. (2) The next option is ordering the kit with all the parts delivered pre-cut by CLC. This is the best option, in my opinion. Completing the board is relatively easy for those with limited building skills. Just follow the step-by-step instructions—the stitch and glue construction method is a good place for beginners to start. (3) The easiest option is to choose plywood for building the whole SUP, including the deck, hull, and interior framework.
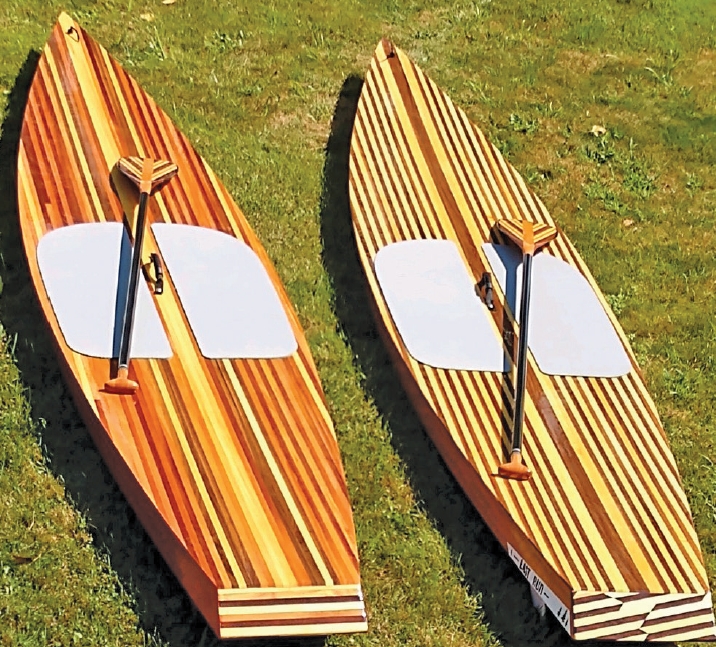
Nelson and I are not beginners (see “My First Cadillac” in Epoxyworks 44, about how we restored a 1954 Cadillac Runabout). We opted for CLC’s upgraded kit with plywood hull and framework but with a stripper deck using pre-cut strips of ash, mahogany, and walnut provided with the kit. We were free to design our own color combination for each deck.
Stitch and Glue Construction
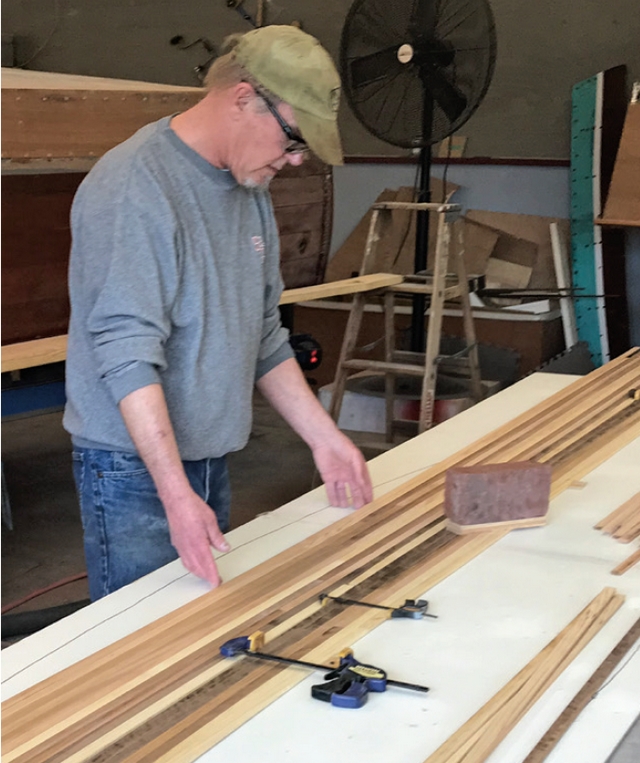
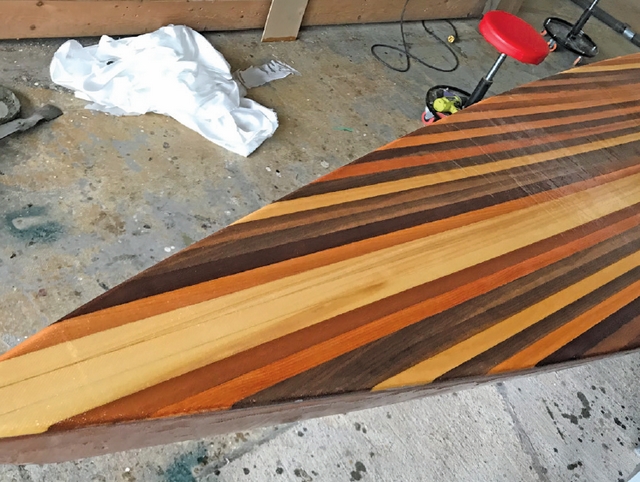
To make construction easier, the deck is flat. This means the modest rocker in the hull is not transferred to the deck so all that is needed to glue the strips together is a long, flat table or workbench. I used polyurethane glue (any white variety that dries clear will work) to glue the bead and cove strips together. Once the glue dried, we set the decks aside and built the hulls.
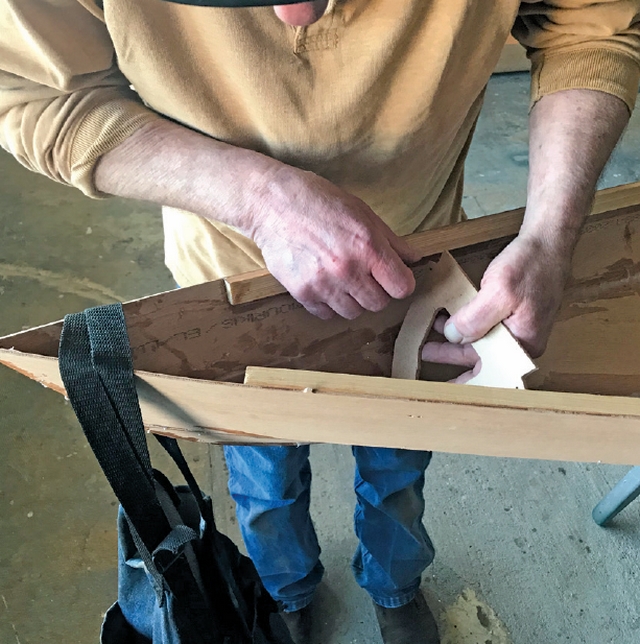
The CLC parts are delivered on a pallet, so the plywood panels for the hull must be glued to reach their full length. This is easily done by fitting and gluing the puzzle joints together with WEST SYSTEM® 105 Resin/207 Special Clear Hardener®, which is what we used throughout this build. This makes four hull panels—two bottom panels and two side panels. The two half bottom panels are mirror images. We applied fiberglass tape to all four panels using 105/207 on the inside seam surface. The side panels are then attached using stitch-and-glue techniques. Once the fillets cured, we removed the copper wires and reinforced the inside filleted seam with glass tape and 105/207.
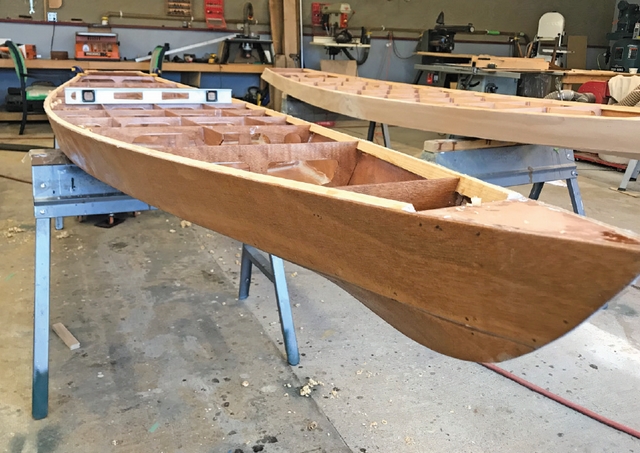
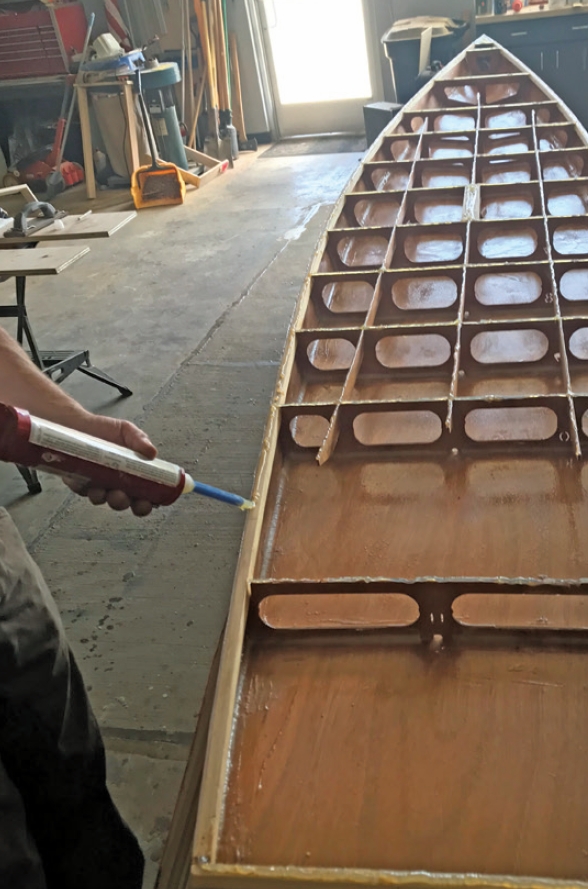
With the hull shape now established, the interior grid support pieces were wired into place again using the supplied copper wire. Before gluing these structural supports in place, we spent a good amount of time making certain they were tightly wired and then made sure the hull shape was uniform, square, and level. Once satisfied, we (and by we I mean Nelson), created fillets using WEST SYSTEM Six10® Thickened Epoxy Adhesive to secure the grid in place. After the Six10 cured, we sealed the inner surfaces of the hull with a single coat of 105/207, including the grid work.
Fiberglassing the Stand-Up Paddleboards
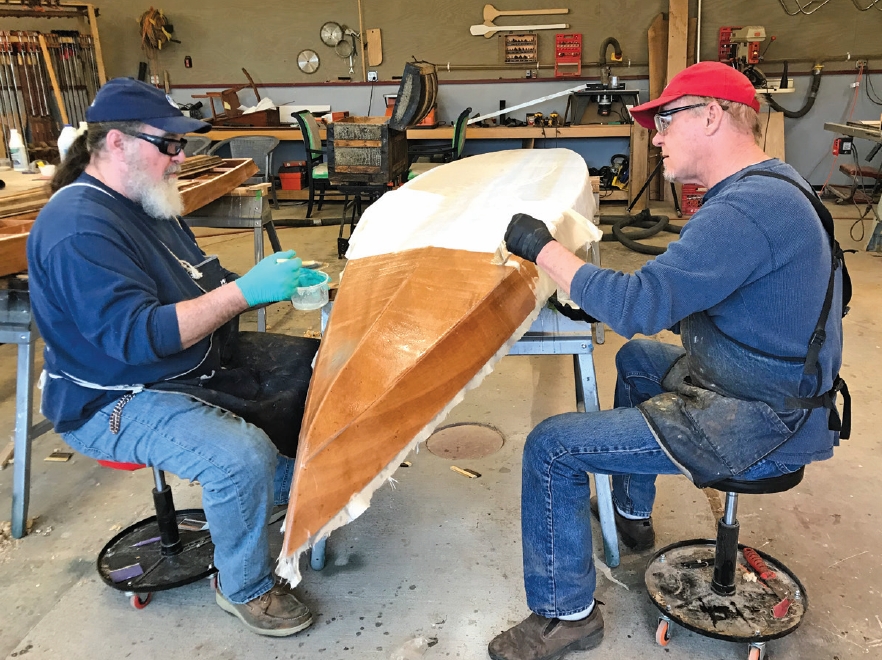
Next, we turned the hulls upside down for fiberglassing. The WEST SYSTEM 742 6 oz. glass was dry fit and smoothed, then wet out with 105/207 because we planned a natural finish on all the wood. This went pretty well on both hulls, without bubbles raising the glass and creating white spots.
The next step was sanding to prep both the underside of the decks and the top surfaces of the grid frames, inwales, and transoms. Rather than using the plywood transoms supplied with the kits, Nelson opted to build custom transoms for each board. He used the cut-offs left from the deck strips to make each transom unique. Again using Six10 Adhesive, we applied a thin bead to the tops of these surfaces and secured the decks in place with clamps. The decks were still oversized. After the epoxy cured, we removed the clamps and trimmed the decks to shape with a router. At this point, we had two structurally sound boards.
Even Pros Make Mistakes
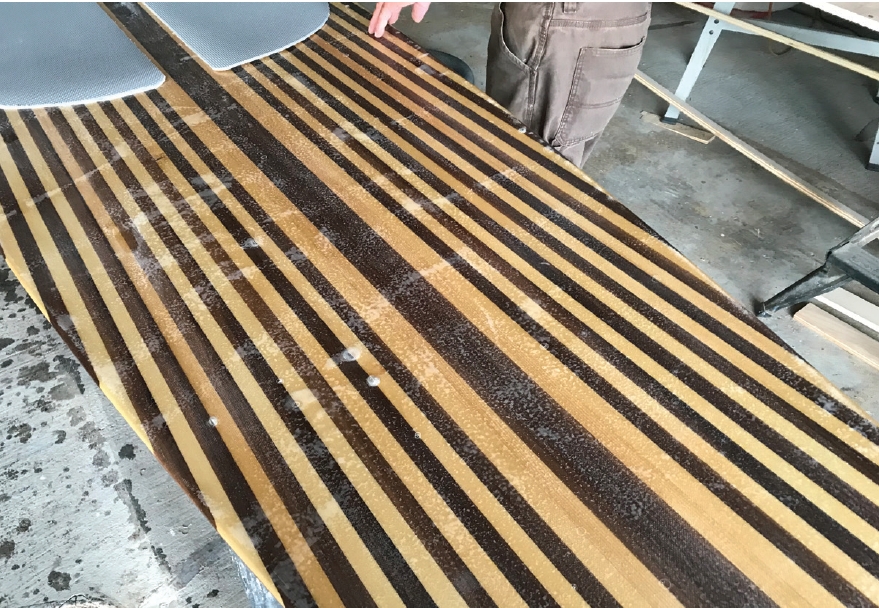
Things went a bit south when we fiberglassed the tops of the decks. During Michigan summers, southern-facing windows receive direct sunlight all day. Nelson’s shop windows face south and therefore tend to heat the shop as the day progresses. Here’s where it pays to listen to your epoxy professional. If you start applying fiberglass and epoxy over wood while temperatures are on the rise, the wood can outgas and lift the glass unless the epoxy has cured enough to resist the outgas pressure. My advice was to come back to the shop after dark to glass the decks when the shop had cooled. The epoxy would be cured by morning before the shop began to heat up for the day. Nelson didn’t follow my very wise council and both boards had varying amounts of “the pox.”
Some of the largest bubbles were located where the footpads belonged, so we cut off the offending glass with a razor knife and simply recoated the wood in these areas. The remaining blemishes were cut off, the edges hand-sanded, and small patches cut and glued down. If done carefully, these repairs will go mostly unnoticed by all but the most detail-oriented observer. Of course, it’s all the builder sees!
Finishing
Having dealt with the pox, we prepped the hulls and decks for more 105/207 to fill the weave of the fiberglass. For this, we used an abrasive pad because sandpaper would be too aggressive for this step. It can cut through to the glass, which makes it look white and there’s no good way to fix that. This took a couple of coats of epoxy to achieve. Finally, we prepped the cured epoxy with an abrasive pad (220-grit sandpaper would also work) to remove epoxy drips or runs. We used Z Spar® Captain’s Varnish to apply two coats to both boards.
Current stand-up paddleboard pricing and kit options are available at clcboats.com. When ordering kits from CLC you will need to request West System Epoxy 105/207 or pick up your own at any fine marine store or chandlery.
The completed CLC stand-up paddleboards were very well received and now reside at Michigan’s Houghton Lake.


