by Mike Barnard
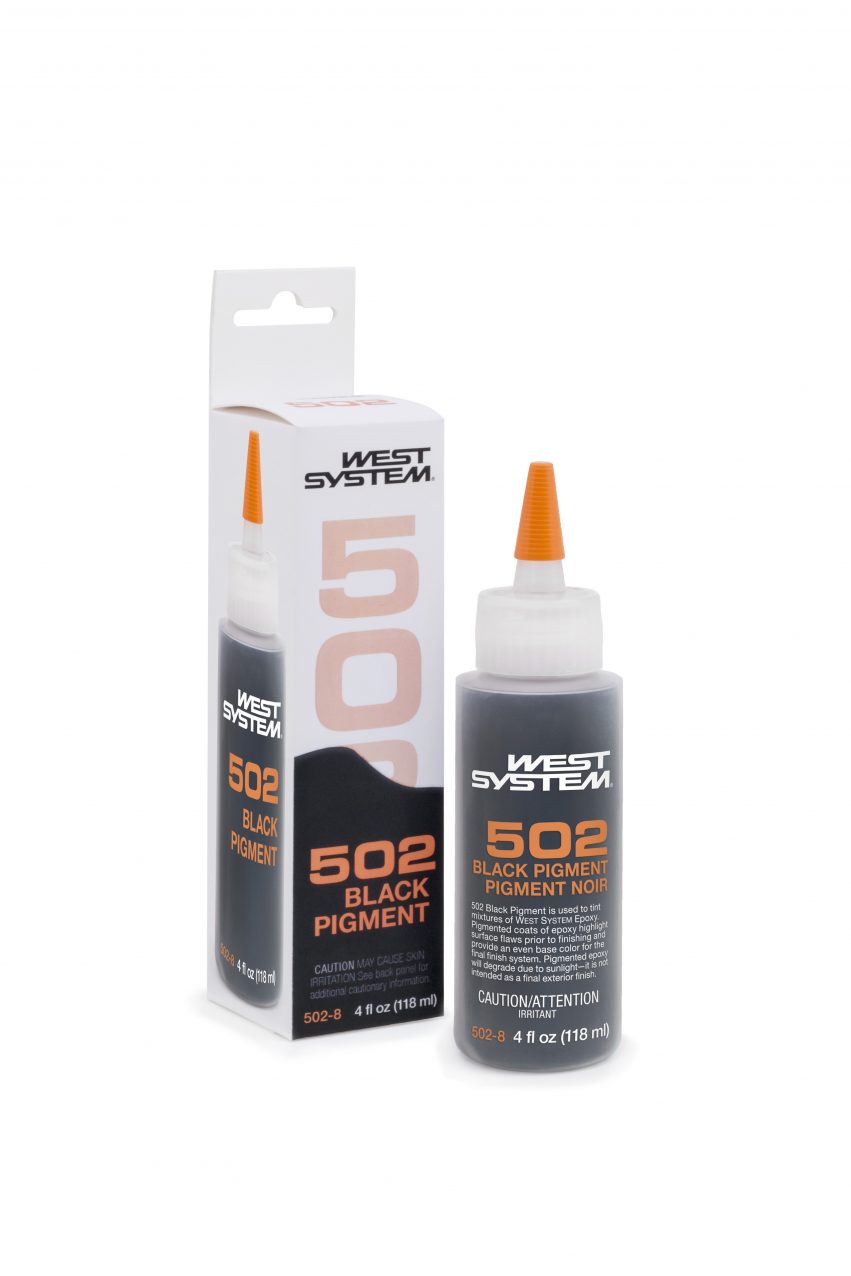
On January 1, 2015, we began selling a new WEST SYSTEM Epoxy pigment. We already had the 501 White Pigment and the 503 Gray Pigment, so it seemed right to introduce our new 502 Black Pigment. Just like the 501 and the 503, it alters the color of the epoxy mixture without affecting the cured physical properties. Similarly, the maximum acceptable loading is 3%. This is great for hiding a surface with a single coat of black epoxy. Adding more pigment will increase the opacity, but can skew the mix ratio because there is epoxy resin in the pigment.
Some projects that can be completed with 502 Black Pigment
A great application for this pigment is to fill imperfections in wood. Rather than try to hide the imperfections, this would accentuate them and draw the eye to them. It makes for a really nice rustic accent. A great example of this is found in the last Epoxyworks issue where Tom Pawlak filled a crack in a goblet with black pigmented G/flex.
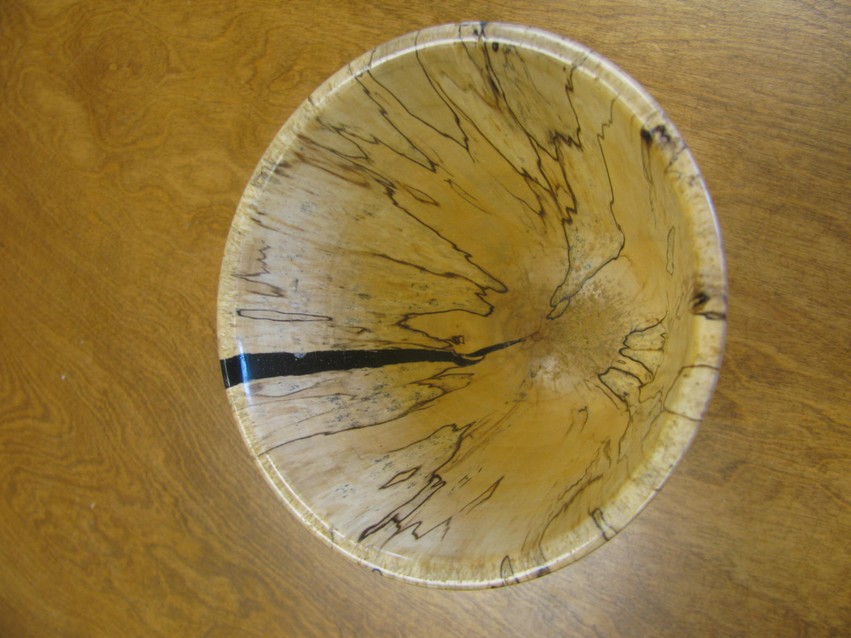
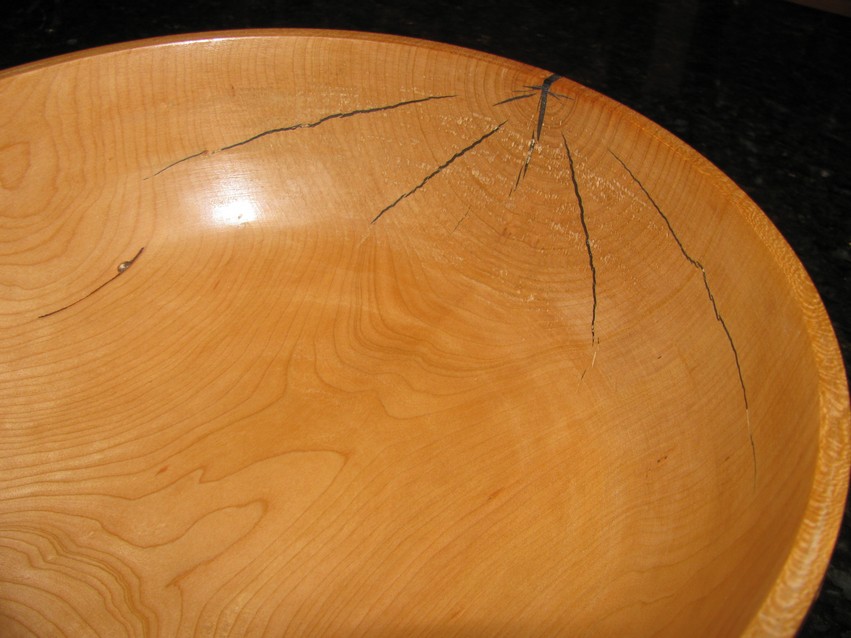
Another example of this is when there are knotholes in wood that need to be filled. This is probably most common in wood flooring applications. Customers have done this with our 423 Graphite Powder, and the result with our 502 Black Pigment would be similar.
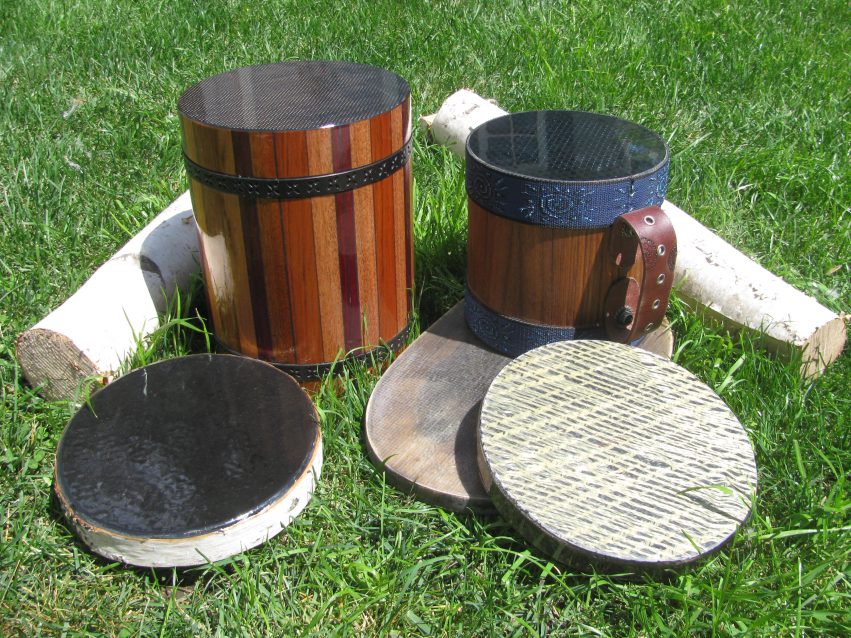
In the previous issue of Epoxyworks, Tom Pawlak detailed the process for building a drum. He added 502 Black Pigment to the epoxy to the epoxy he used to adhere the wood veneers and fill the seams between the wood strips. I think you’ll agree it helps differentiate between the varieties of wood.
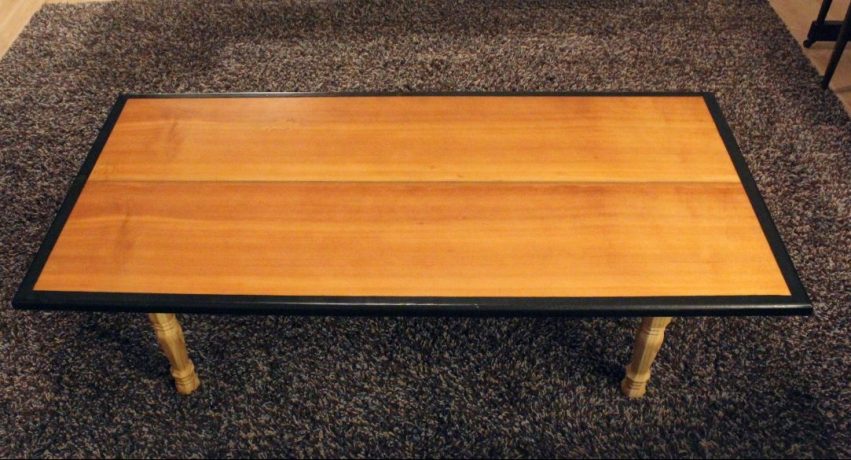
Another great project for the 502 Black Pigment is to create a border for a table. I used this method on my coffee table at home. I wanted a nice sharp line of black tinted epoxy around the edge of the table, so I put masking tape directly on the wood and applied the pigmented epoxy half over the taped line so it would be a sharp line. When I did this, the epoxy penetrated into the wood a little ways and was soaked up by the wood under the tape. This created a very uneven, jagged line that was unsightly. A beginner’s mistake.
To solve this, I coated the entire table top with 105/207, let it cure, sanded, re-taped over the cured epoxy, and applied another batch of the black pigmented epoxy around the edges. This same process could be used when filling knotholes or drilled holes with black epoxy to prevent the black color from seeping into the surrounding wood grain. Recycled barn lumber is often used in this manner to give it an earthier look. As you can see, the end result turned out great and I learned a valuable lesson.
Technical advisor Tom Pawlak did a project similar to mine. His son needed a decorative, removable box to cover some plumbing in his basement, so Tom created a custom mirror. This would hang on the wall covering the pipes, yet could be removed if they needed to accessed. Coating the frame with black epoxy made the custom mirror less obtrusive and it matched the decor better.
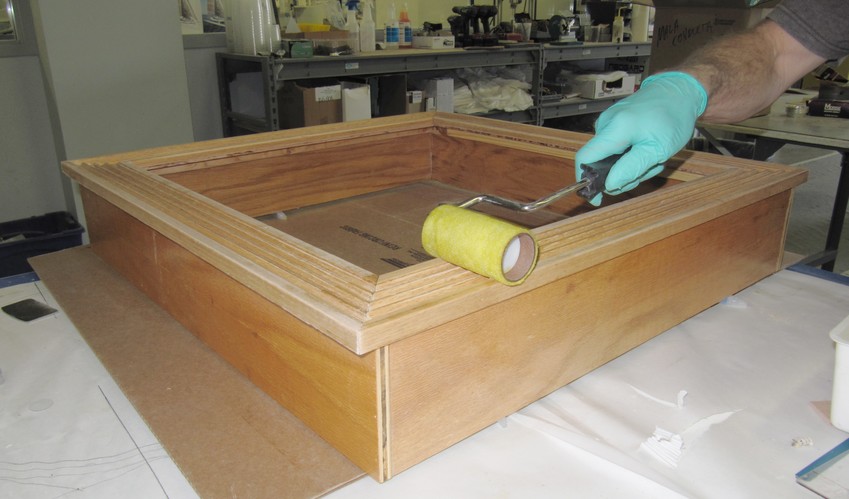
To start the project he built a decorative frame out of some lumber and molding he had on hand. Using a roller, he coated all the flat surfaces with a thin coat of 105/207 to seal the wood. Next, he went back over the grooves and corners with a brush to coat all of the detail surfaces.
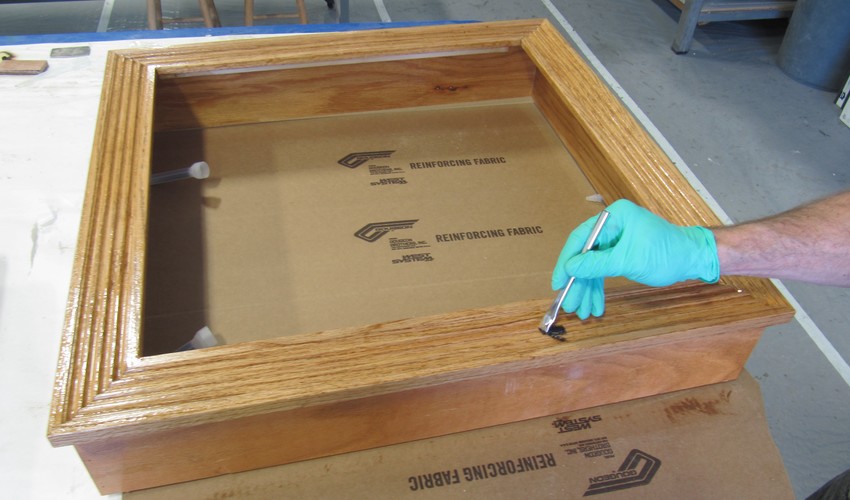
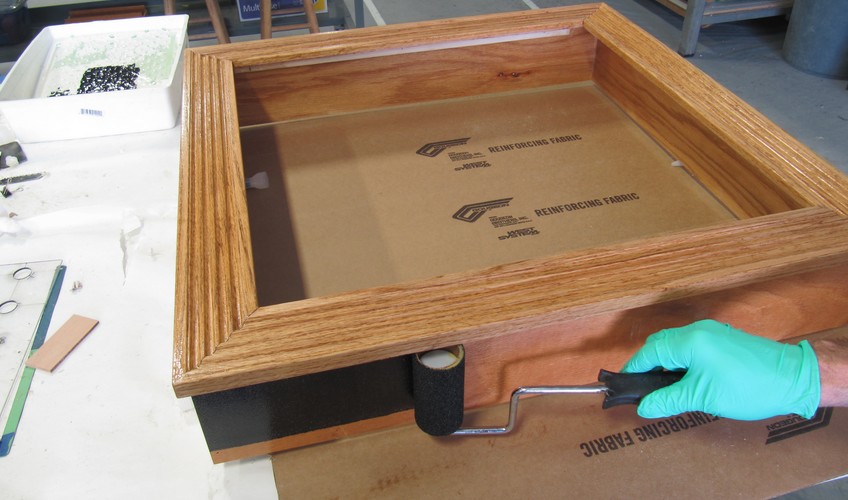
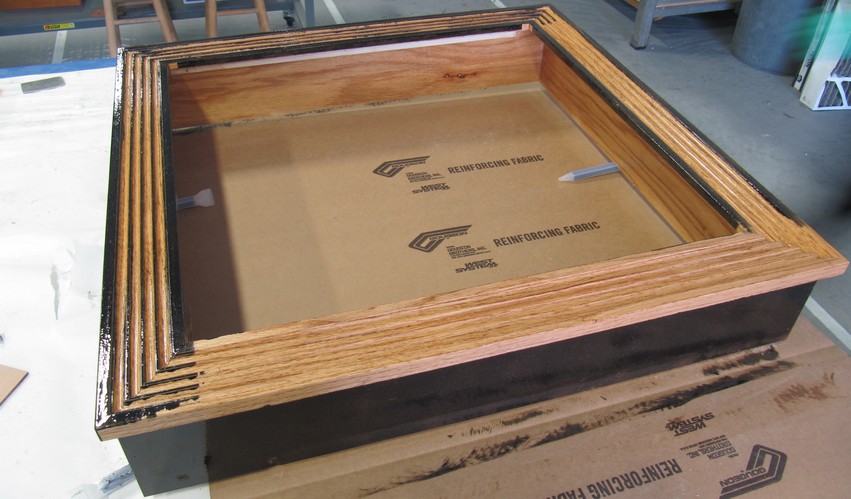
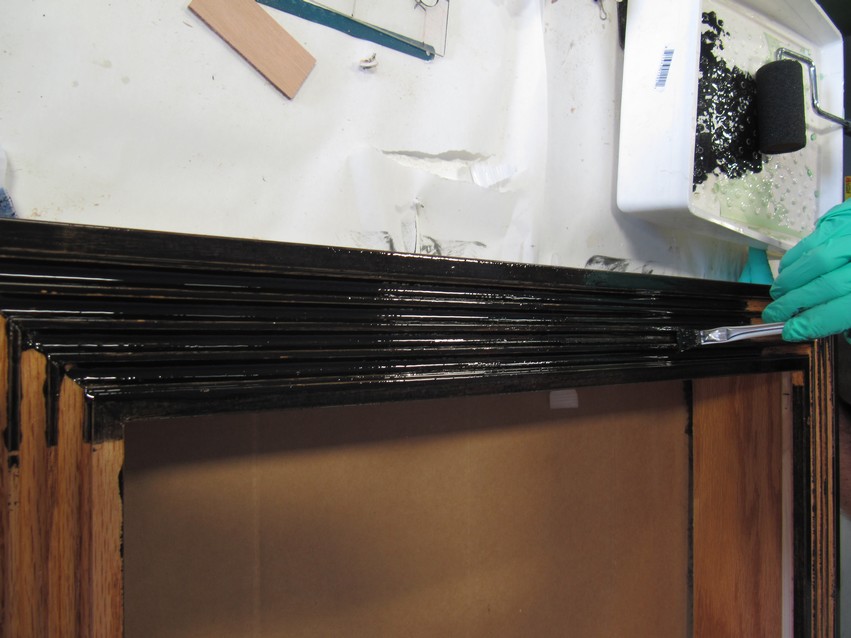
After the clear coating had dried, he mixed a batch of 105/207 with 502 Black Pigment at a 3% loading. He applied this coat using the same technique as with the first coat. Once that dried, all that was left was to install the mirror in the frame and hang it on a wall. No more ugly pipes.

