G/5 Five-Minute Adhesive
Spring 2015

GET STARTED
FREE PRINT & DIGITAL EDITIONS
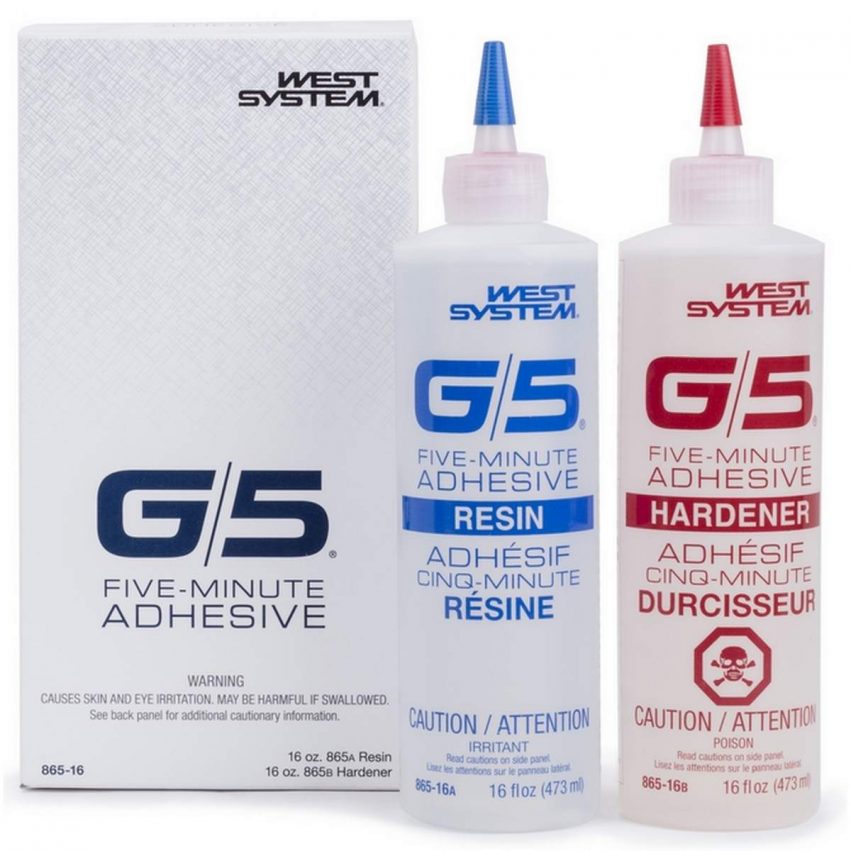
Spring 2015
G/5 Five-Minute Adhesive is a fast curing two-part epoxy that allows 3-5 minutes of working time. It has an ideal viscosity which allows it to penetrate porous surfaces yet is viscous enough to bridge gaps when gluing broken objects. It adheres to a number of surfaces including wood, ceramic, metal, leather, plaster, stone, fiberglass, glass, cork, some plastics, and paper. G/5 is an excellent choice for quick repairs around the house, high-end crafts, and much more.
As with any epoxy, for best adhesion roughen any smooth surfaces to provide texture for the adhesive to key into. G/5 does not require clamping pressure as long as contact between parts is maintained during cure. If using clamps, it is best to use minimal clamp pressure to avoid excessive squeeze out resulting in a glue starved joint.
The joint will be ready for light service after 15 minutes and cured to near full strength after four hours at room temperature. It will continue to gain strength and toughness with additional cure time.
G/5 Adhesive can be thickened with a variety of powder fillers to bridge larger gaps in glue joints and to create fast-setting sculpting putties. Powders that work for this include Talcum, sanding dust, tempera paint powder, laundry lint, cotton flock and chalk line chalk.
Note that while sanding dust can be used to thicken G/5 because it cures very fast, it is not a true thickener for standard epoxies because slower curing epoxies may drain out of the thickened mixture before cure, resulting in cause glue-starved joints
WEST SYSTEM® fillers can also be added to G/5 to create a thickened adhesive. 403 Microfibers thickens epoxy fastest of all our high-density fillers. Add thickeners quickly while stirring the epoxy so you have meaningful working time left to use the epoxy. Once thickened, G/5 can be used to fill missing sections in broken objects as they are being glued back together. Tissue paper and small bits of cotton balls can also be used as gap fillers if they are wet out with G/5 adhesive just before forcing them into place with a toothpick.
You can add color to G/5 Adhesive by adding wood sanding dust, powdered chalk line chalk, powdered paints like Tempera paint, or small amounts of acrylic paint pigments and lettering enamel. Other coloring options include metal flake, metal powders, crushed stone, and glitter. Add color additives quickly while stirring the epoxy so you have time left to use the epoxy.
Use shiny Cellophane® tape to mask off areas where you don’t want the epoxy to stick. You could also use electrical tape, a plastic drop cloth or plastic food storage bags. Vaseline, paste wax, shortening and cooking sprays can be applied to objects to contaminate the surface to keep the epoxy from sticking.
Cured G/5 Adhesive can tolerate getting wet but it is not intended for items that are continuously damp or wet. It will work well on exterior applications as long as long-term wet/damp conditions are avoided.
1. Mask off areas where you don’t want the epoxy to stick
2. Roughen smooth mating surface if possible with sandpaper
3. Apply mixed resin and hardener to both mating surfaces if possible
4. Bring the mating surfaces together and hold in place until G/5 hardens
5. Use tape, rubber bands, spring clamps or just use your hands to hold the parts in position until G/5 cures to a hard, rubber-like state. The joint is ready for light use at this point, but allow more time before seriously stressing the joint.
1. Apply unthickened G/5 Adhesive to the hole to penetrate the area
2. Thicken the remaining G/5 in your container with powdered fillers like 403 Microfibers or talcum
3. Fill the hole with epoxy and wipe away any excess
4. Alternatively, you can take bits of tissue paper and wet them with G/5 Adhesive resin/hardener mixture and quickly force them into holes with a toothpick
5. Trim any excess epoxy with a razor blade before it gets too hard
6. Allow the epoxy to cure for ten minutes then drill a pilot hole for the new screw and screw it into the still flexible epoxy.
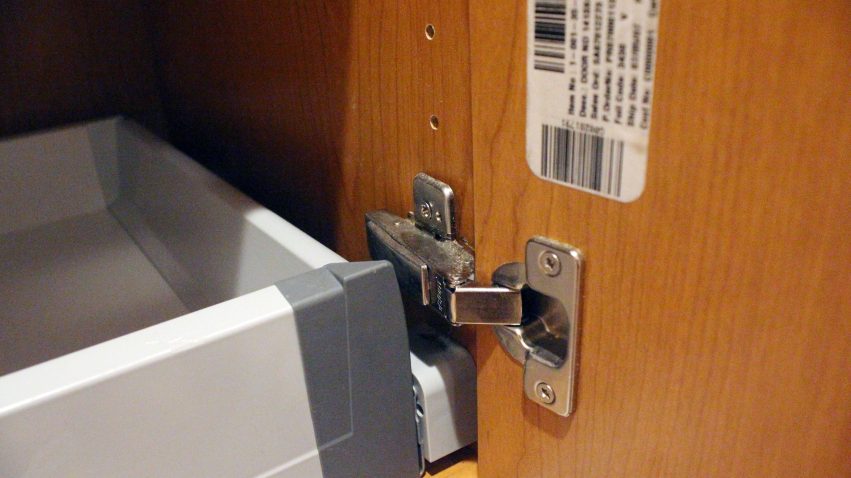
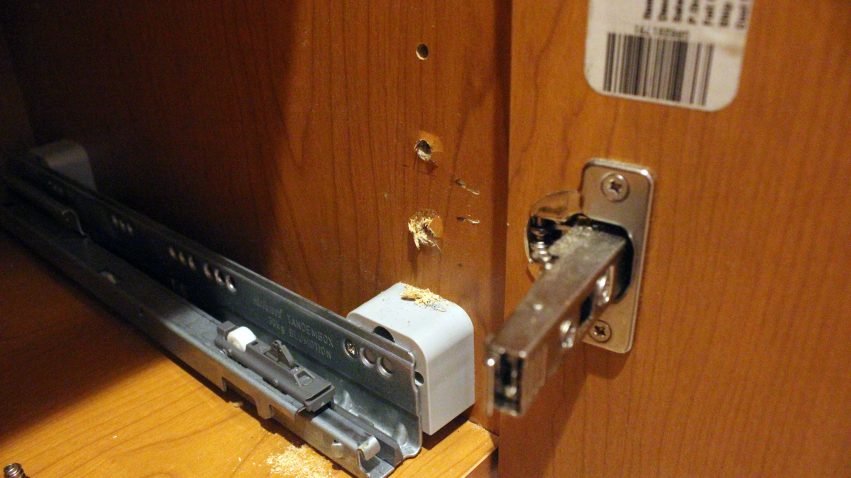
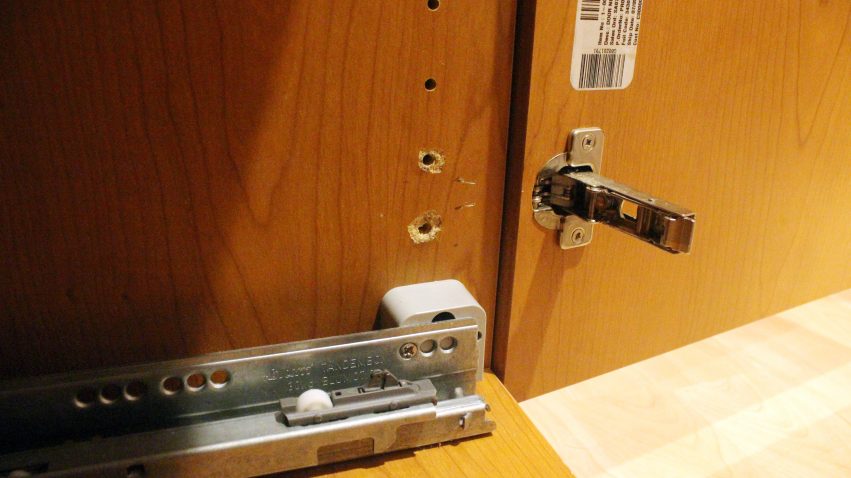
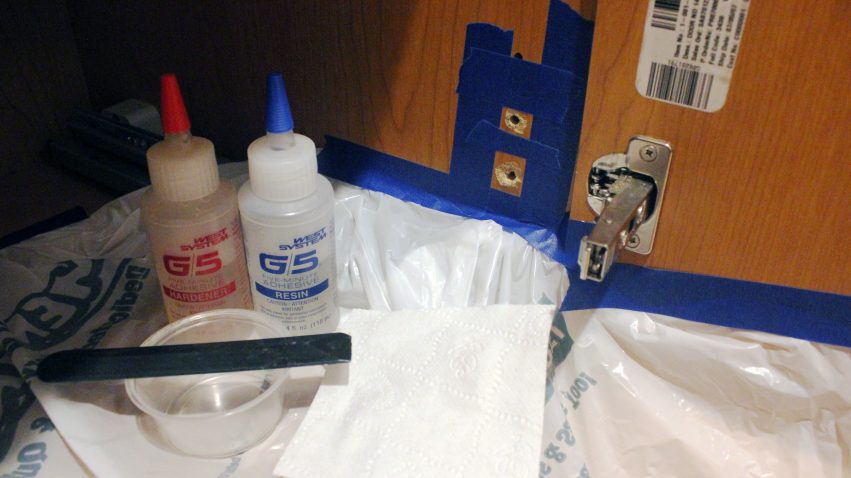
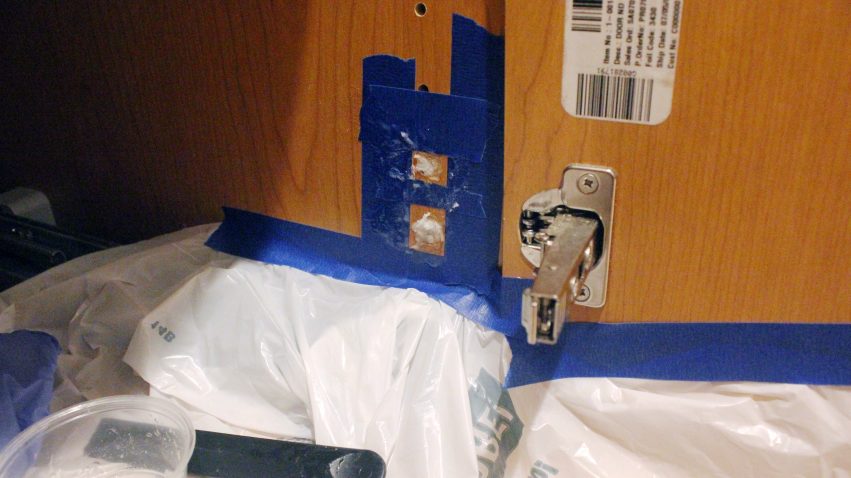
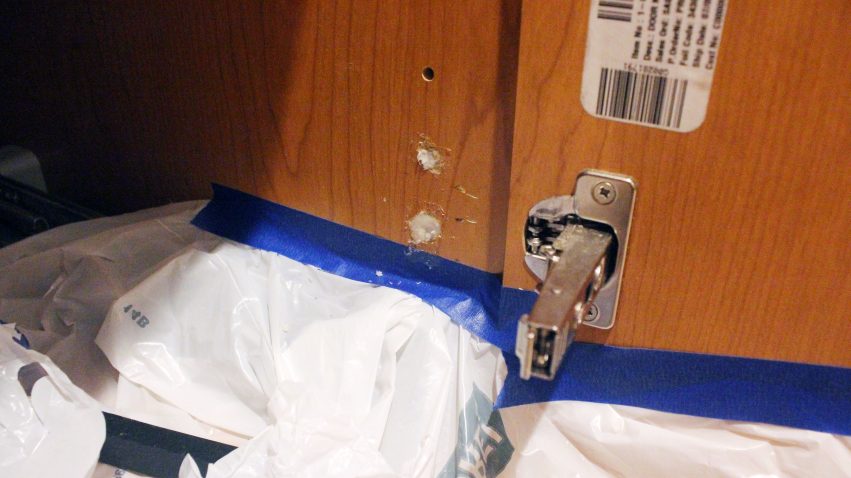
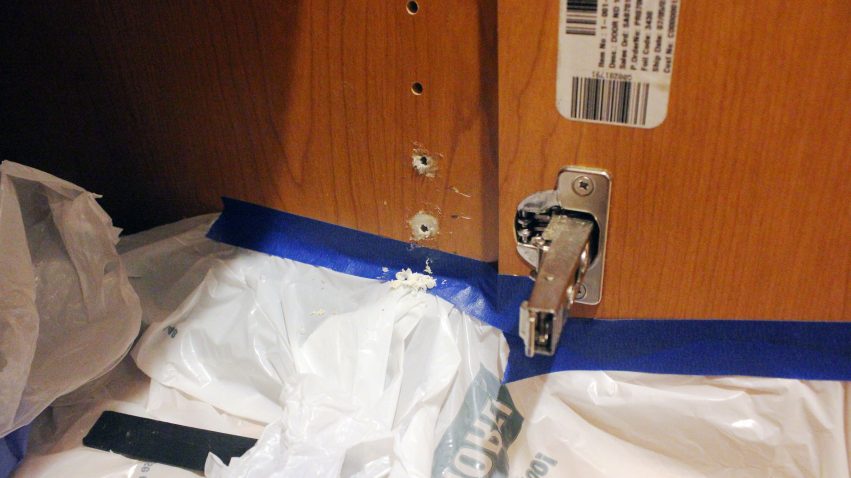
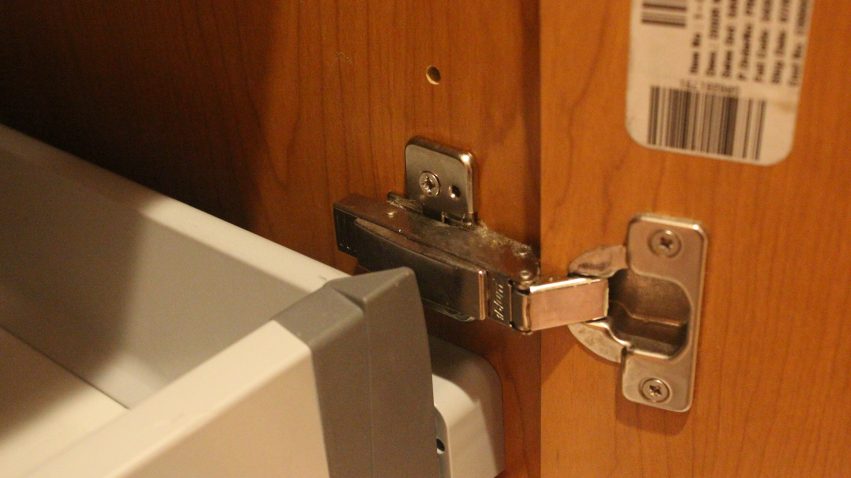
Another option is to glue the screw in place by inserting it into the wet G/5 before it cures. If you wish to be able to remove the screw later, coat it with one of the anti-stick coatings (like Pam® cooking spray) mentioned earlier before inserting it in the uncured G/5.
Woodturners use G/5 to fill voids after thickening it with wood dust, colored additives or metal filings giving a unique color accent in the turning.
Use G/5 to glue things together on tough jobs where hot melt glue isn’t strong enough, especially when gluing the following materials:
• Wood
• Stone
• Metals (abrade for best results)
• Cloth
• Cotton or nylon string
• Bailing twine
• Rope
• Cork
• Cement
• Fiberglass
• Glass
• Plastics (Abrade for best results. Some, like polyethylene, may require exposing gluing surfaces to the flame from a propane torch beforehand for best bonds.)
• Pipe cleaners
• Leather
• Canvas
• Burlap
• Nutshells
Model railroad set builders can create natural-looking surfaces by brushing on a thin film of G/5 Epoxy Adhesive then sprinkling small objects onto the surface while it is still uncured. These objects could include pebbles, sand, coins, dirt, twigs, dried grass, flocking powder, sawdust, grains, nutshells, seashells, straw, glass chips, glass or plastic beads, metal filings, cotton balls, spun polyester, and so on.
Spot prime metals with G/5 in place of slower drying paint primers for indoor applications prior to applying latex paints. Latex paint can be applied ten minutes after G/5 is applied and while it is still soft. G/5 provides a thin barrier and prevents rust that otherwise forms in latex paint while it dries over bare steel.
Spot prime knots in sappy woods like pine and spruce to eliminate stain bleed through prior to painting.
Glue broken porcelain figures with G/5
• Glue loose joints back together with G/5
• Repair stripped screw holes on fiberboard or pressboard tabletops even missing chunks of pressboard can be replaced with G/5 and drilled and screwed into again
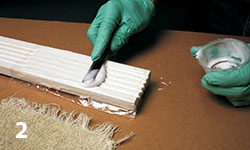
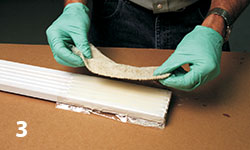
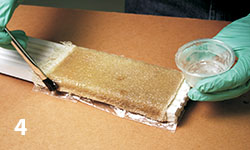
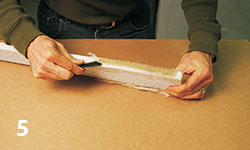
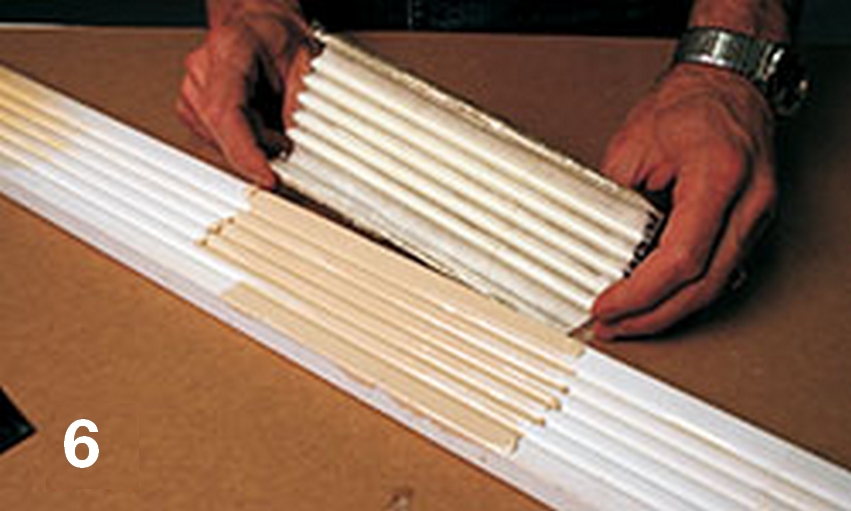
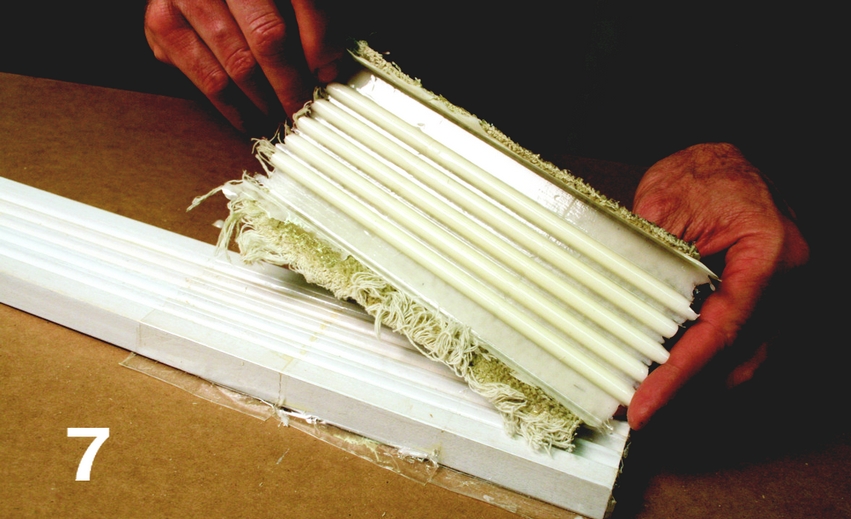
For more details, see A Professional Technique for Repairing Damaged Wood Trim in Epoxyworks #31.
See the article Drumming in Circles in EPOXYWORKS #39 for details.


 Listen Now
  Add to Playlist